HOME
HOME
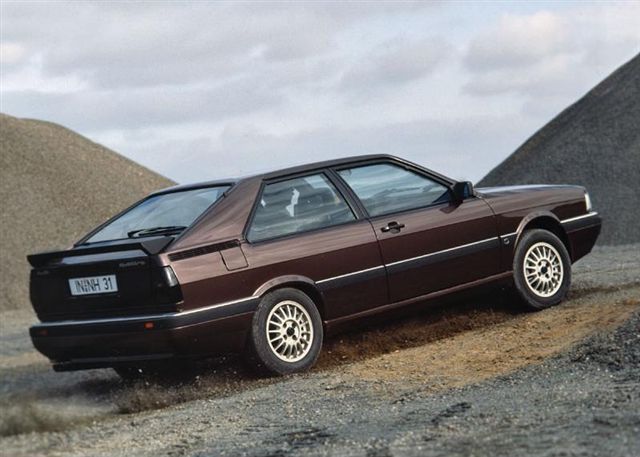
The Coupe Quattro
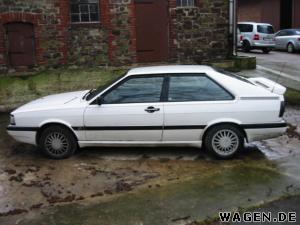
My CQ
Ongoing Restoration
Gallery
Info / Data
Suppliers
Links
T85q.com
More engine bay stripdown. 22 July 2005
| We need to remove the front bumper as part of the overal scheme of things. First unscrew the screws that holds in the indicators, pull them free from the bodywork(carefull now, they are fragile), unclip the wiring from the back of them, remove them from the car and put them somewhere safe. |
 |
| Indicators now removed..... |
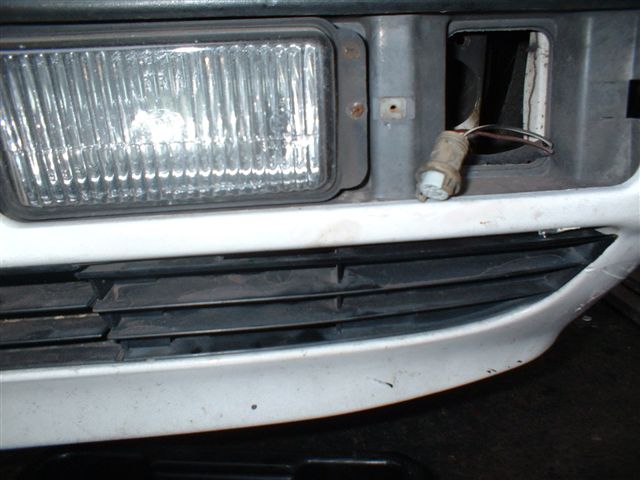 |
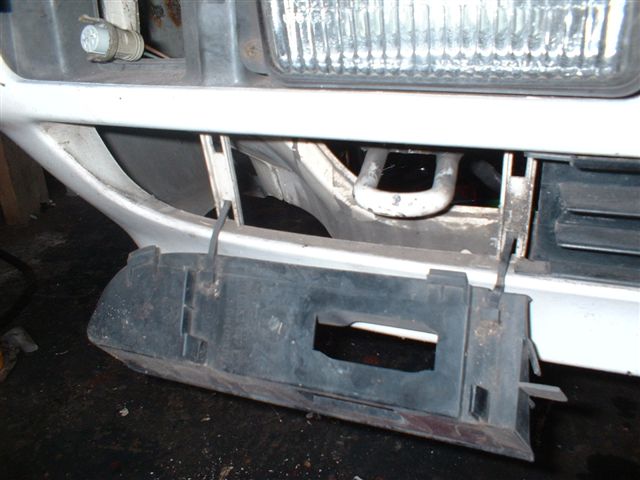
| Now remove the outboard lower grille sections, they just clip on, and are easy to pull free. The side that has the towing loop on it has some extra little ties to keep it with the bodywork. Carefull with these.... |
 |
| The outboard item. Keep these safe too |
 |
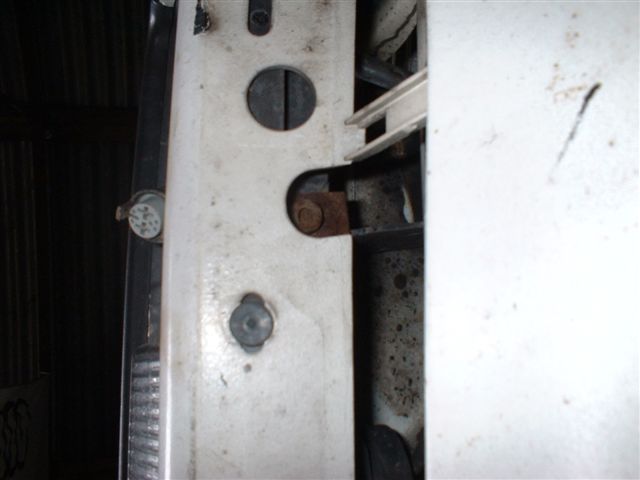
| Now locate this bolt, it's immediately above where the indicators go (photo looking upwards). Remove it using a 6mm hex bit. Apply WD40 or Plusgas to the TOP end if you can..... |
 |
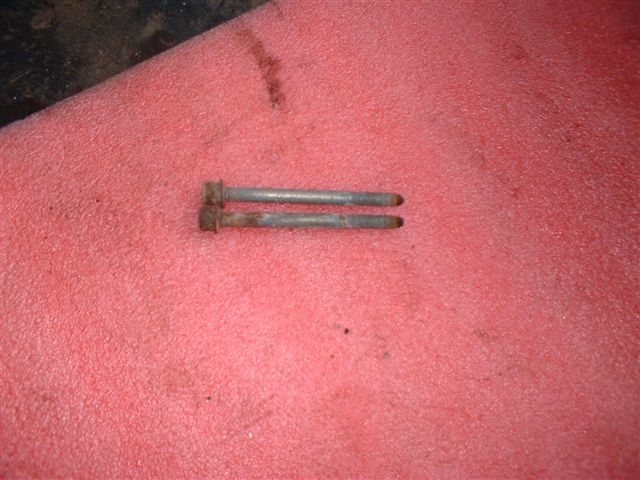
| 2 bolts now removed |
 |
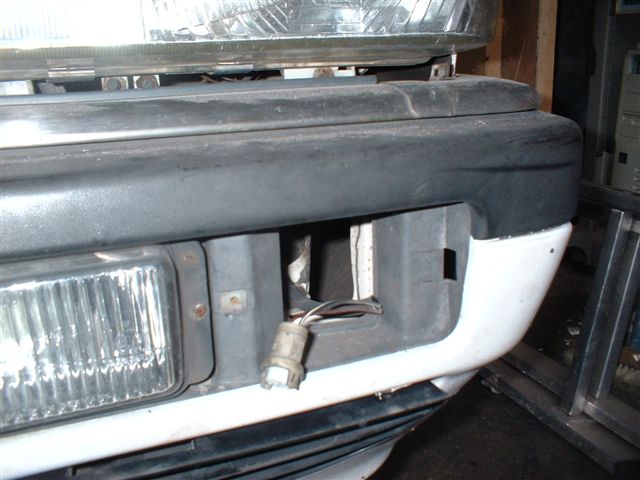
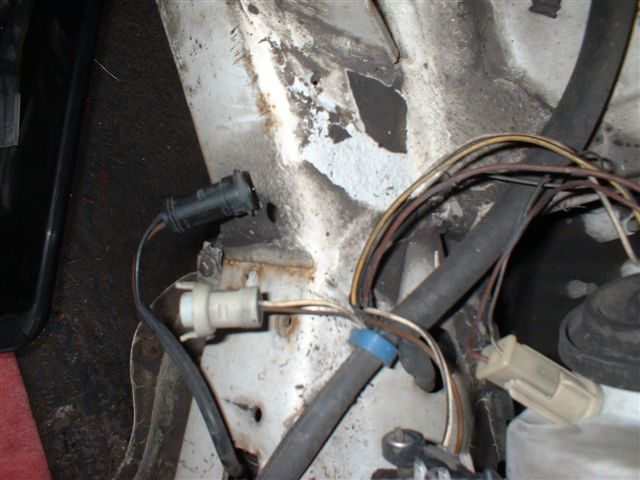
| Next locate the connectors for the front spots (inside the engine bay) |
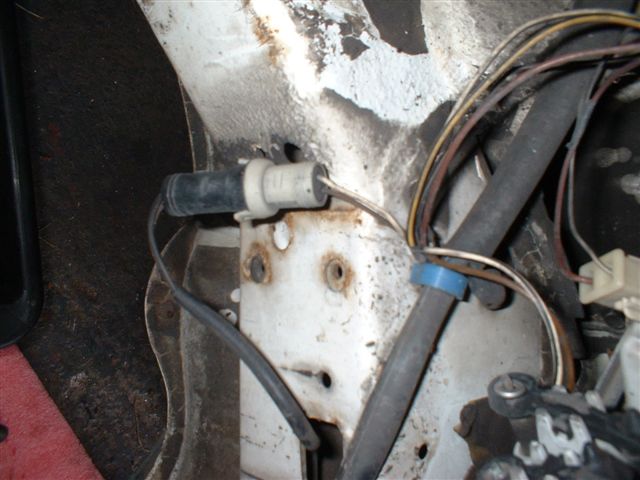 |
| And carefully unclip them, and feed the wires through. |
 |
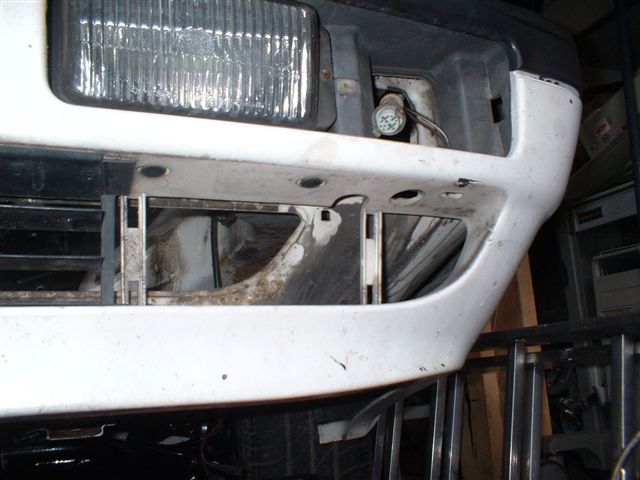
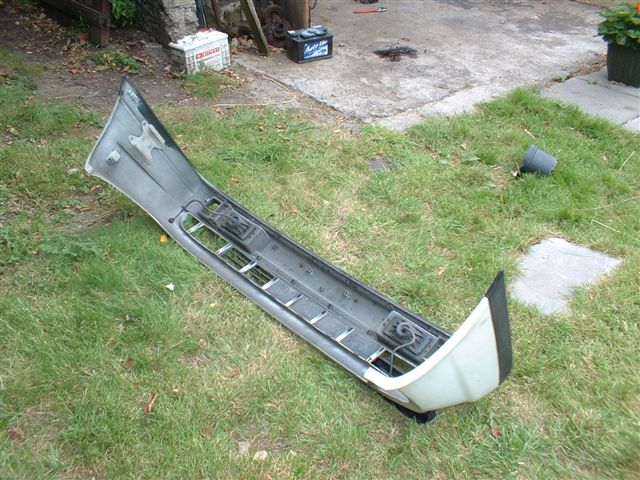
| If you can get a helper it's easier... Waggle the bumper forwards, keeping it square to the front of the car, and the bumper will now just slide off.... |
 |
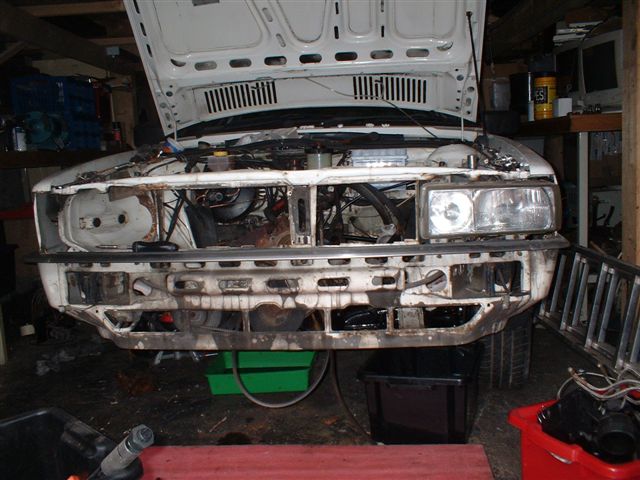
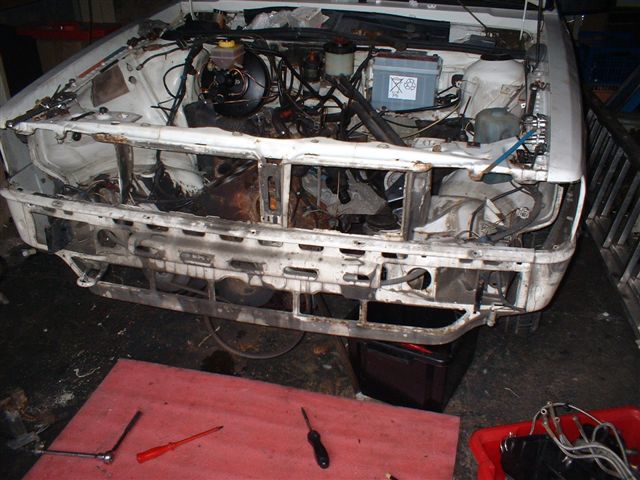
| Leaving you with a very sad looking car. |
 |
| A broken headlight bracket. Yet another thing to fix.... |
 |
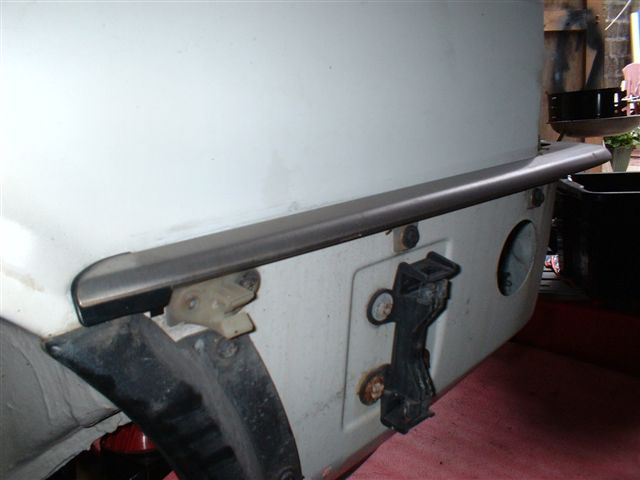
| The Stainless trims gets left on the bodywork. The side ones are easy to remove, just undo and retain the three screws that hold each one on.... |
 |
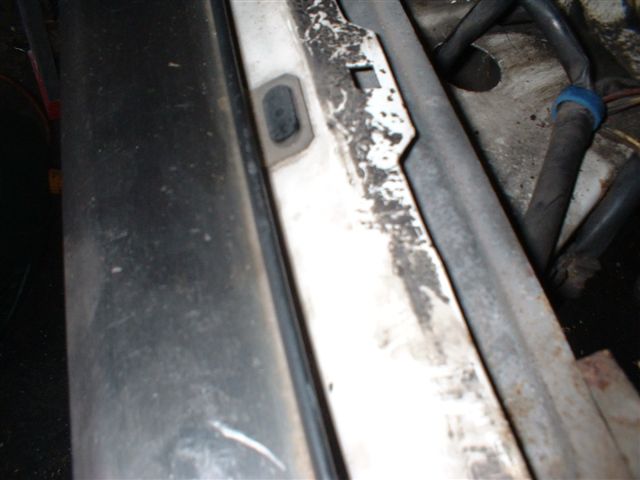
| As for the centre section, it has these black fastners. DO NOT lever them, you'll be able to see that there is a central "plug" to them. Push the plug through or back up, and retain it. Once the plug is removed, the fastner will come out easily |
 |
| Lift off the trims, and keep them somwehere safe |
 |
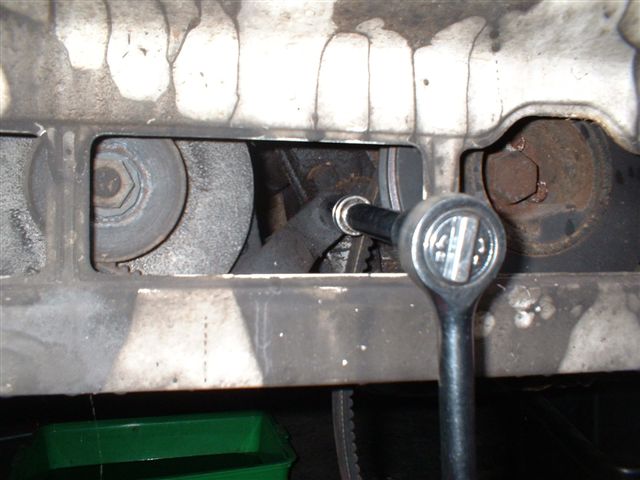
| Next to be removed is the alternator. Slacken off and remove the bolt that tensions the alternator drive belt. |
 |
| You'll also need to unscrew this "P" clip from the body |
 |
| Remove the top bolt. |
 |
| And the one that holds the tensioning strap onto the block (optional) |
 |
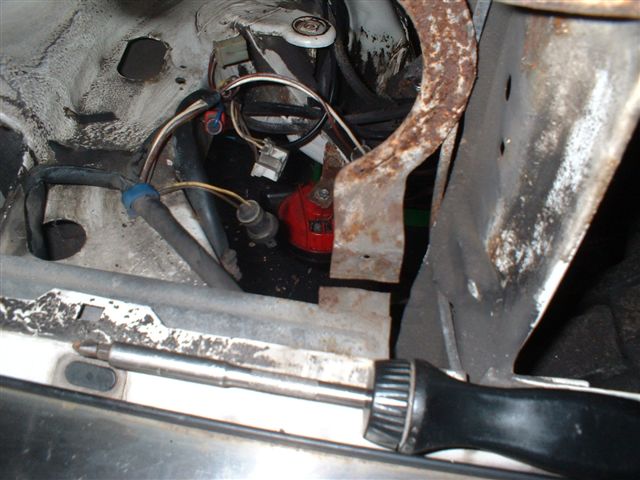
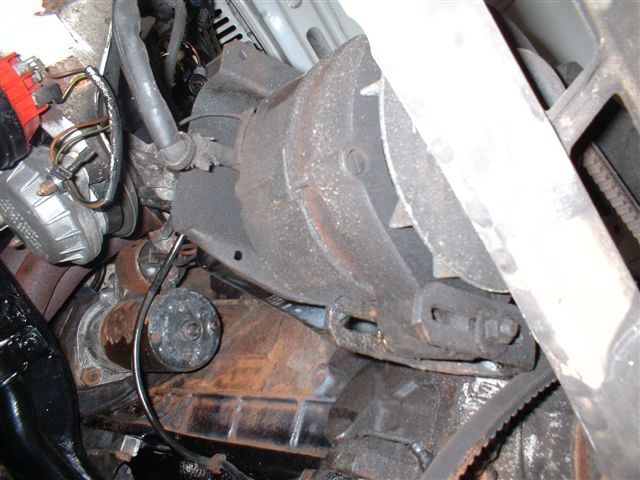
| And off it comes. Note the heavily corroded main feed. |
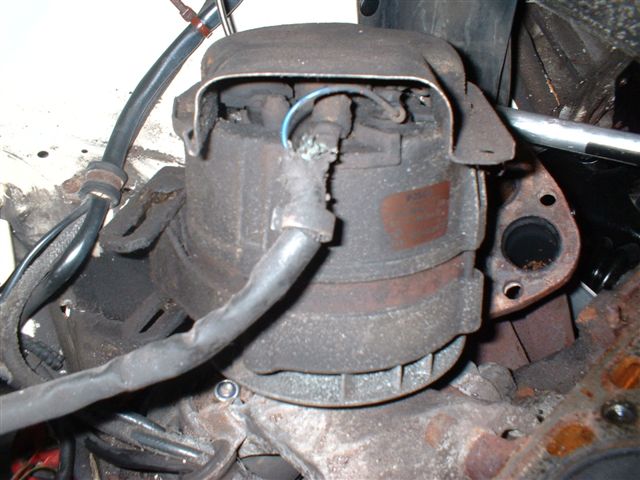 |
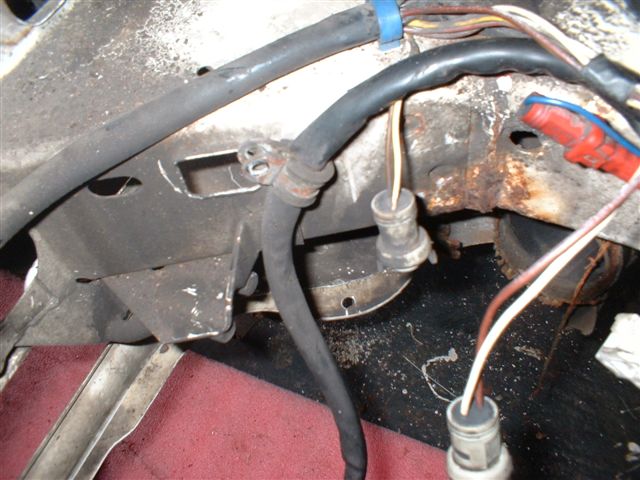
| The main feed and blue wire now need to be detached from the alternator. |
 |
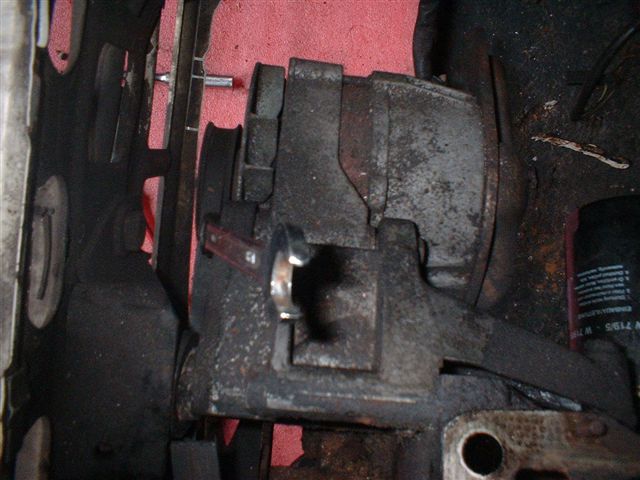
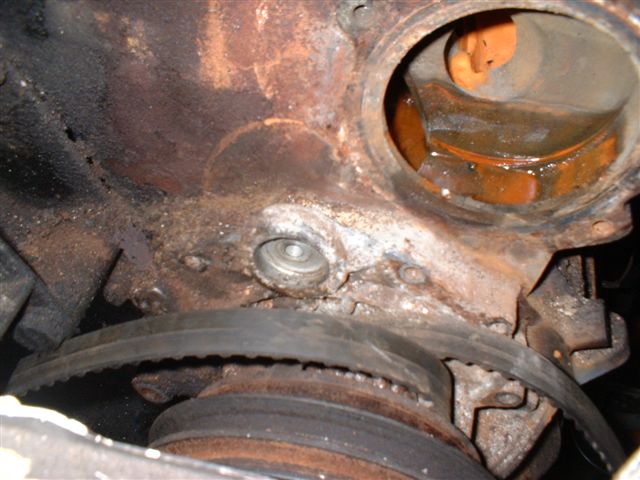
| This is where the cambelt roller was. Remove the centre bolt, and gentle waggle it free... (you may need a light pulling action) |
 |
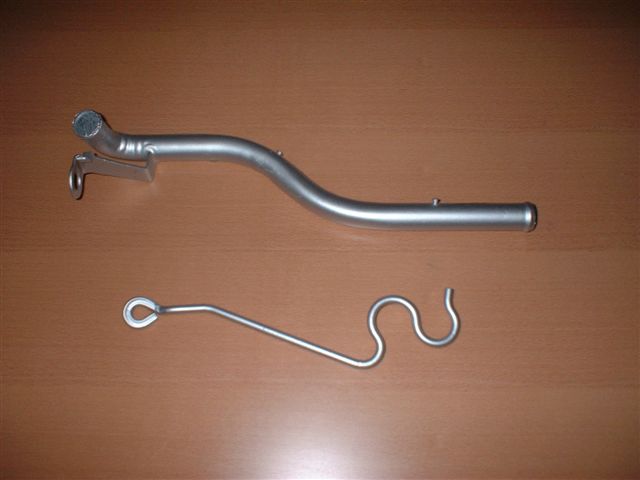
| Cleaned up, derusted and painted heater pipe, plus power steering hose support |
 |
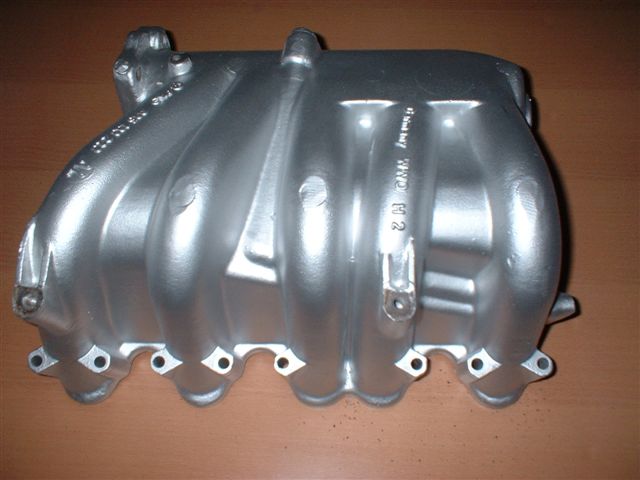
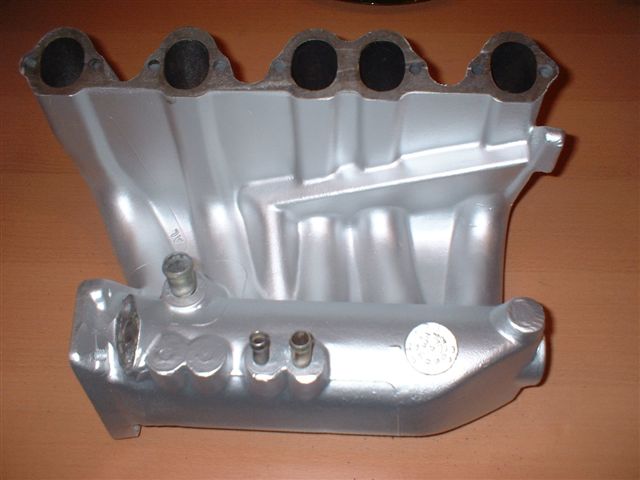
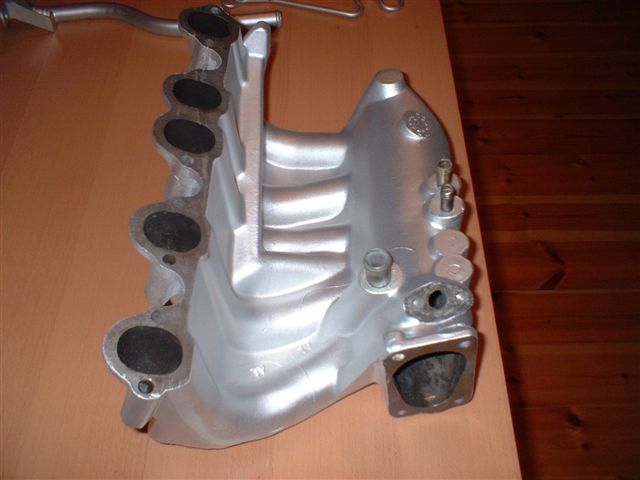
| Inlet manifold cleaned and painted. Painted with silver hi-temp paint. |
 |
 |
 |
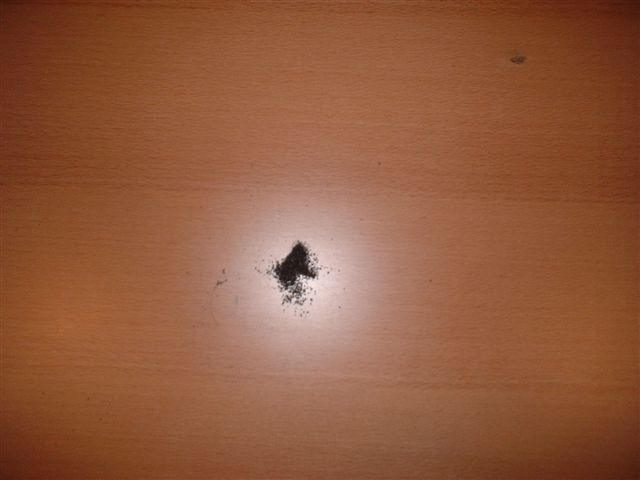
| This is the crap that came out, AFTER it had been degreased, cleaned, and cooked for two hours at 120 degrees... |
 |
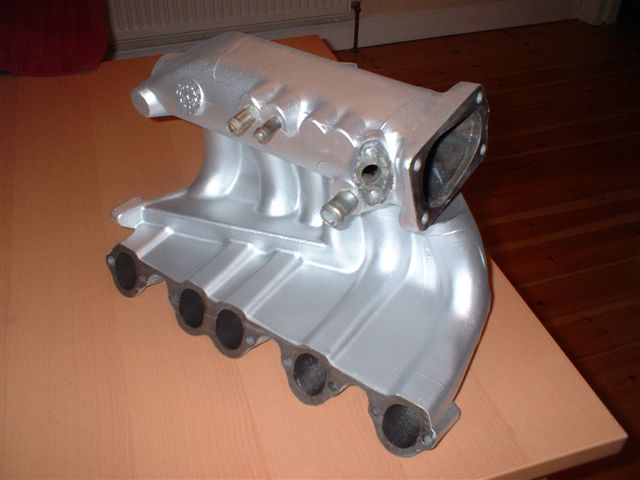
| I think that it looks nice... |
 |
Click Here to email me