The Coupe Quattro
My CQ
Ongoing Restoration
Gallery
Info / Data
Suppliers
Links
T85q.com
More engine bay work : 23-30 Jan 2006
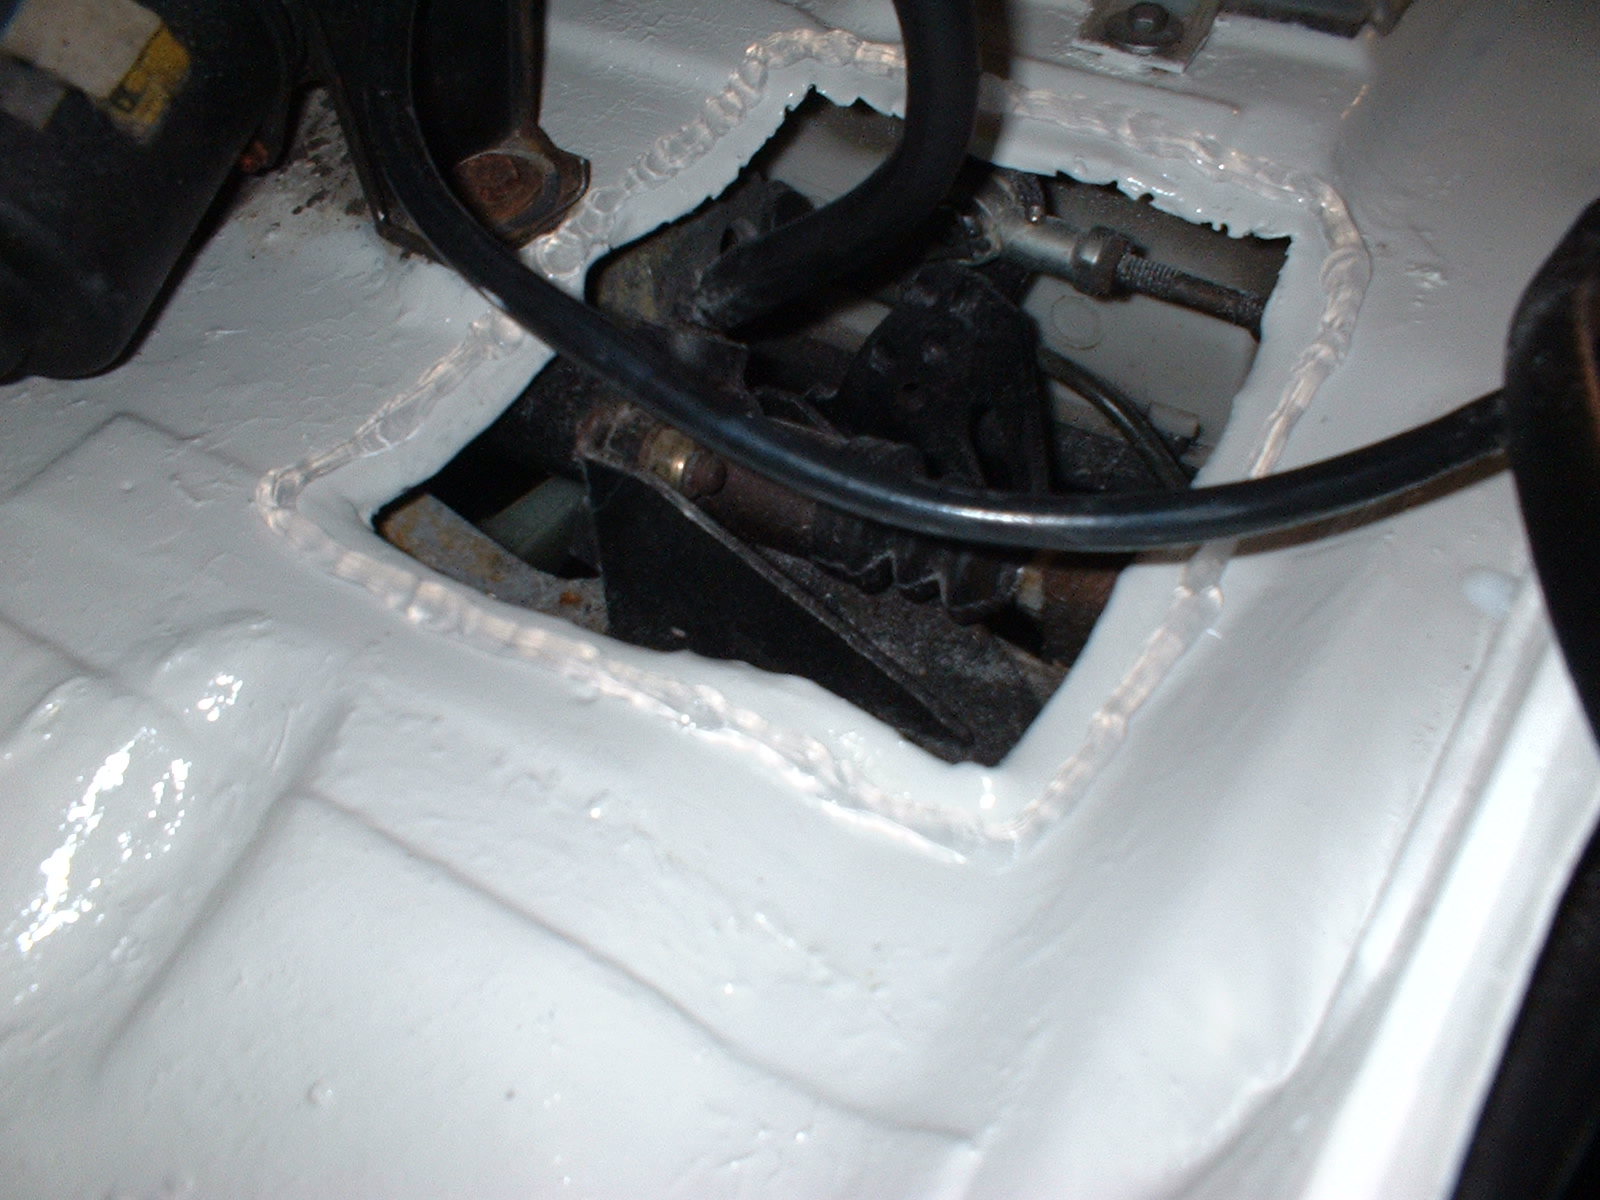
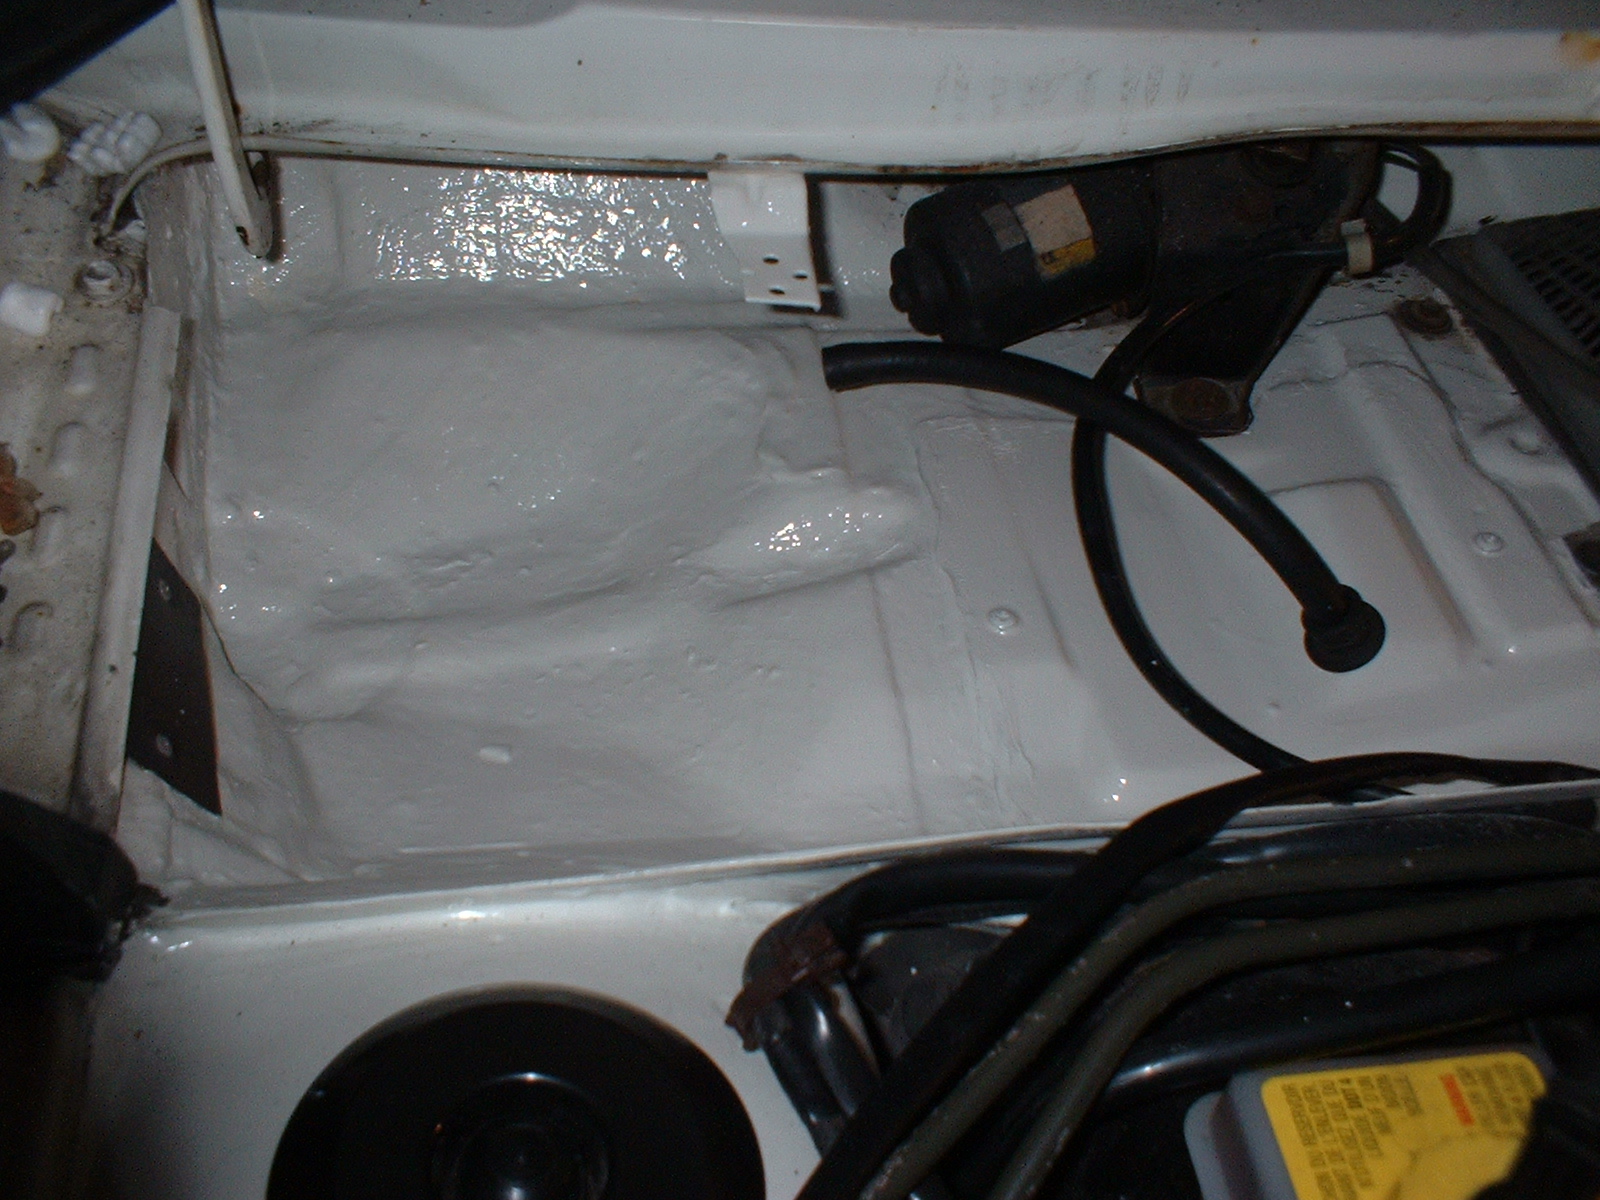
After I discovered the bodged up large hole in the front horizontal
bulkhead, I made up a repair panel using material filched from the
old GT sheel that litters the garden. Looks nice painted in Alpine
white.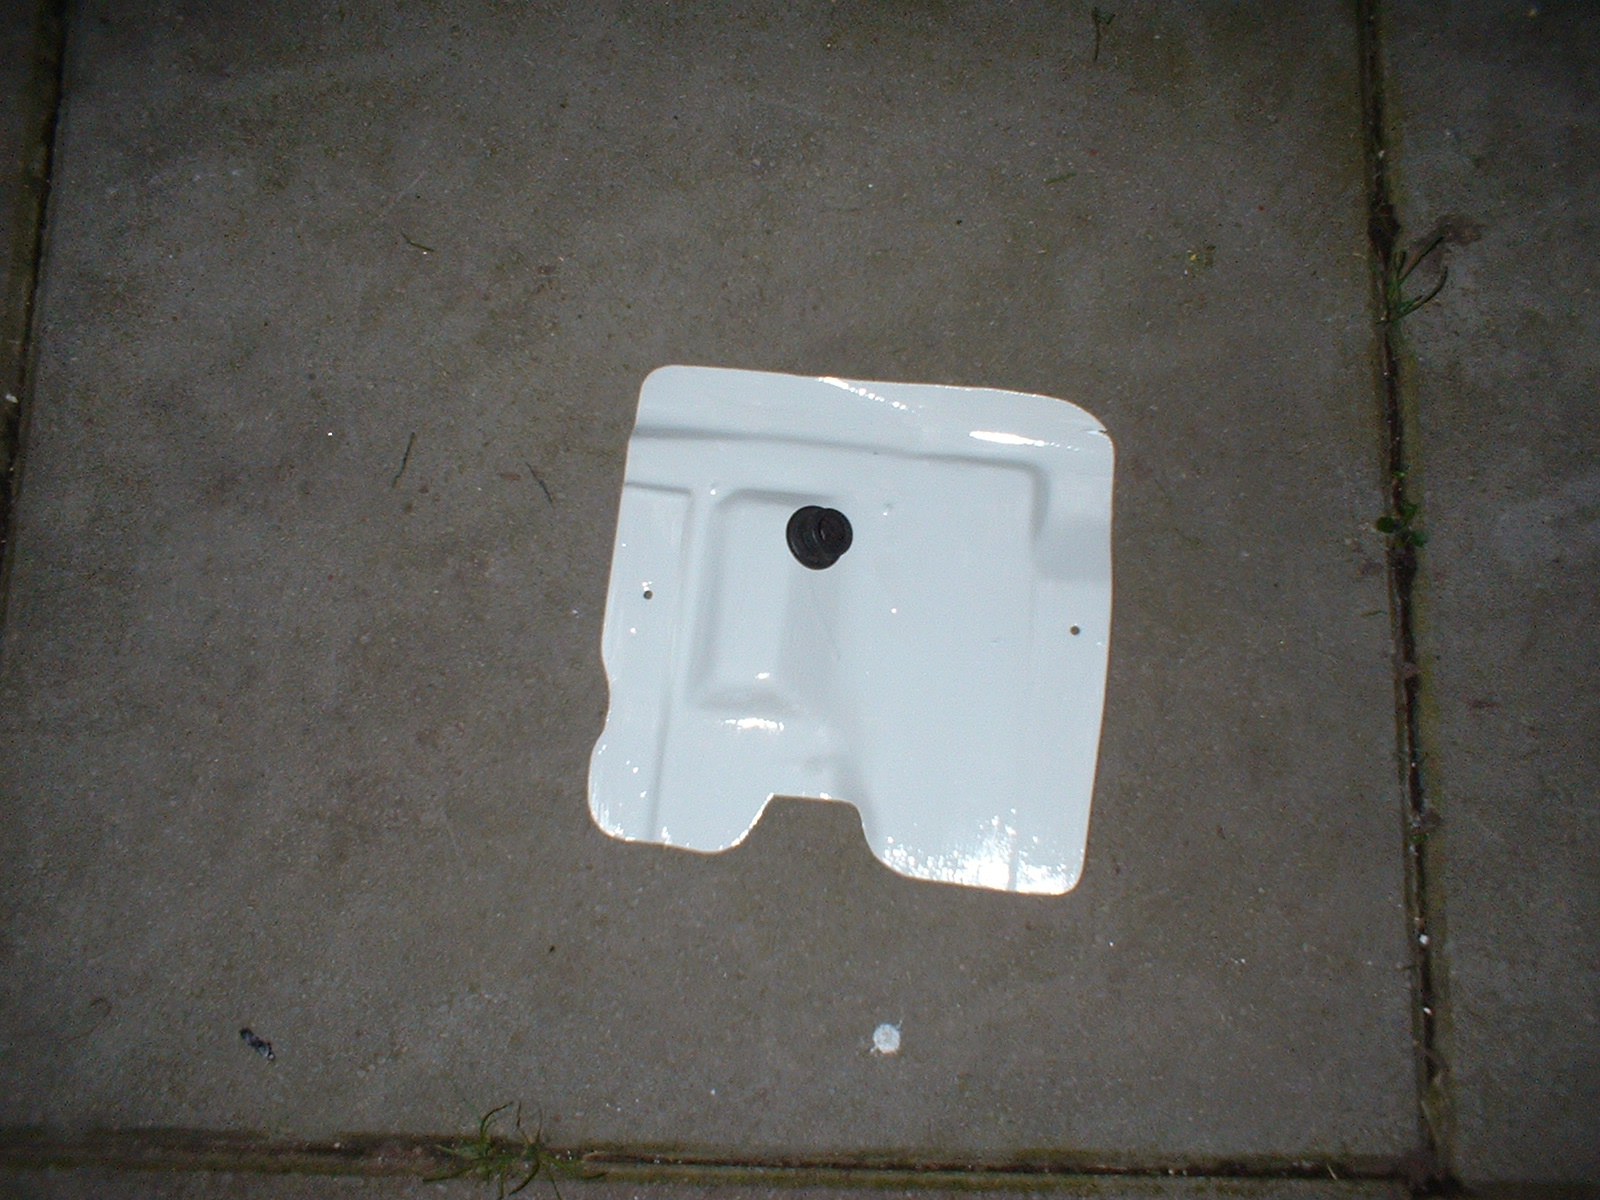
I ran a bead of silicon sealant around the periphery of the hole.
Then I sprayed the mating face of the repair panel with WD40, pushed
it into place and screwed it down with 2 stainless self tappers.
Hopefully that will allow the panel to seal, but still be removable
at a later date if ever required...
Once the sealant had cured, I brushed on several more coats of alpine white.
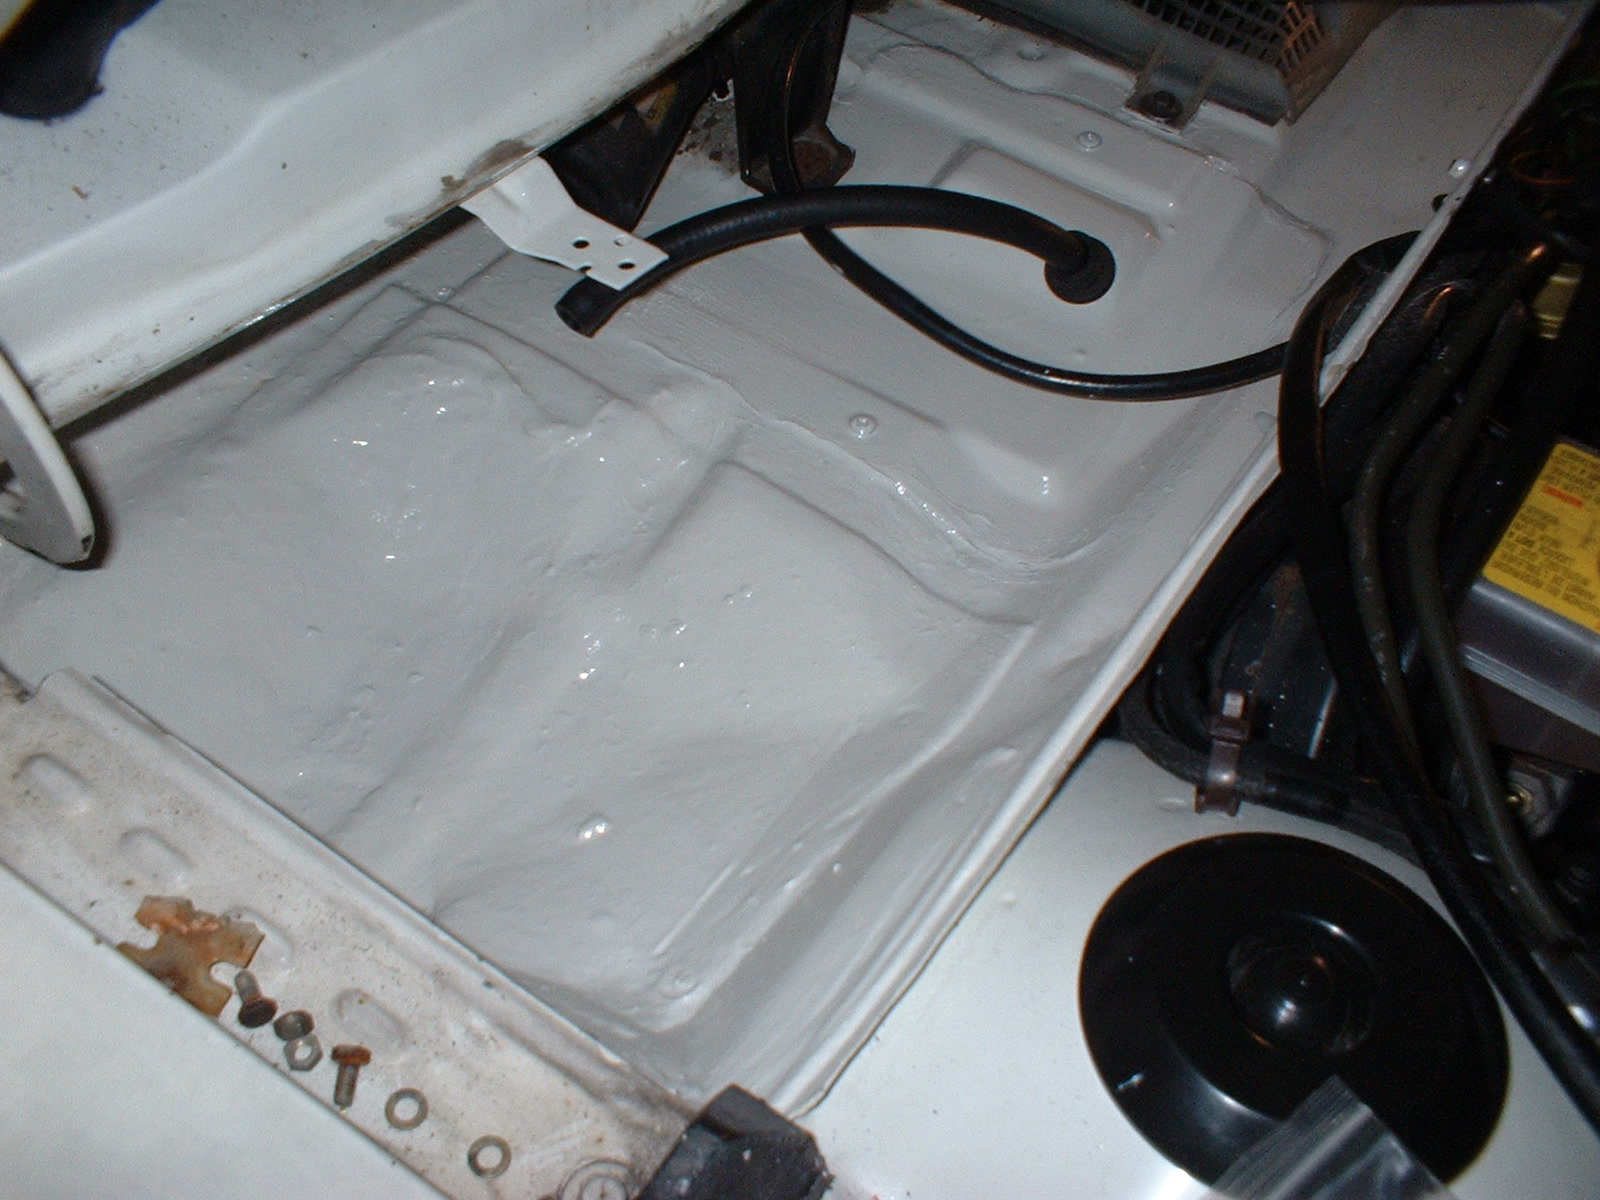
I think thats a very aceptable repair.
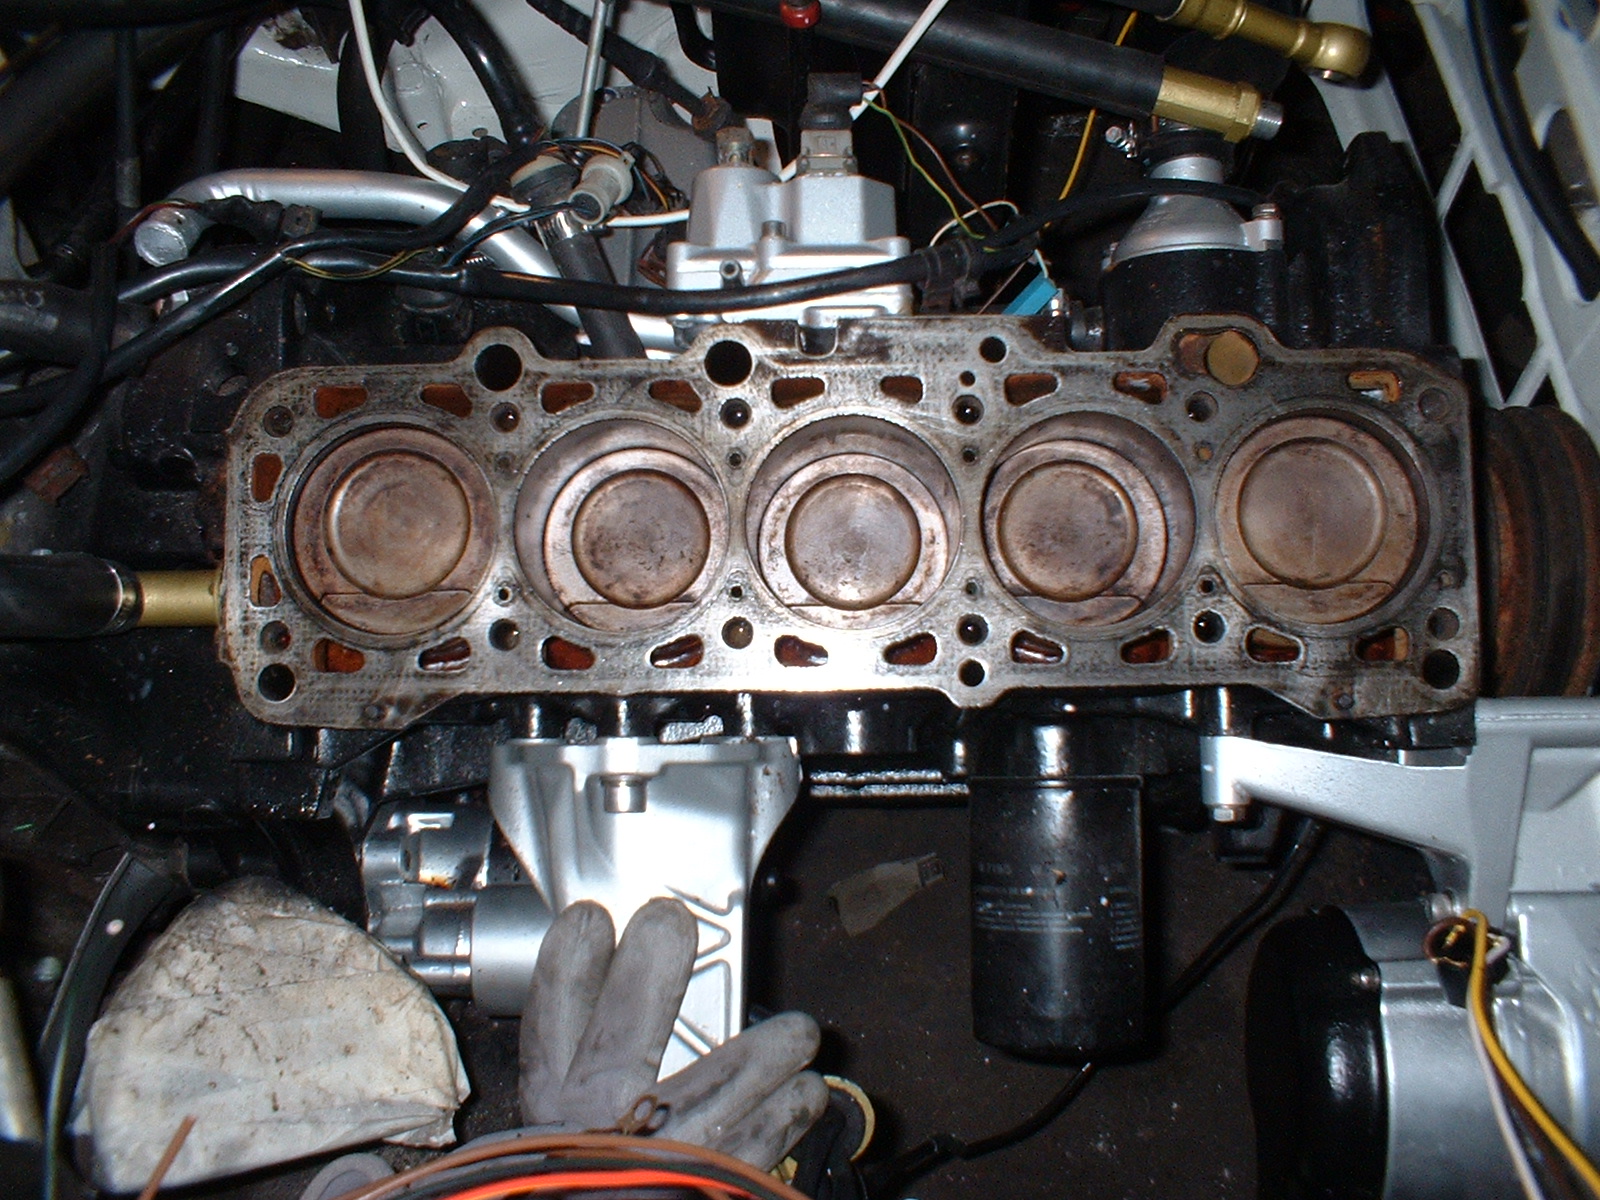
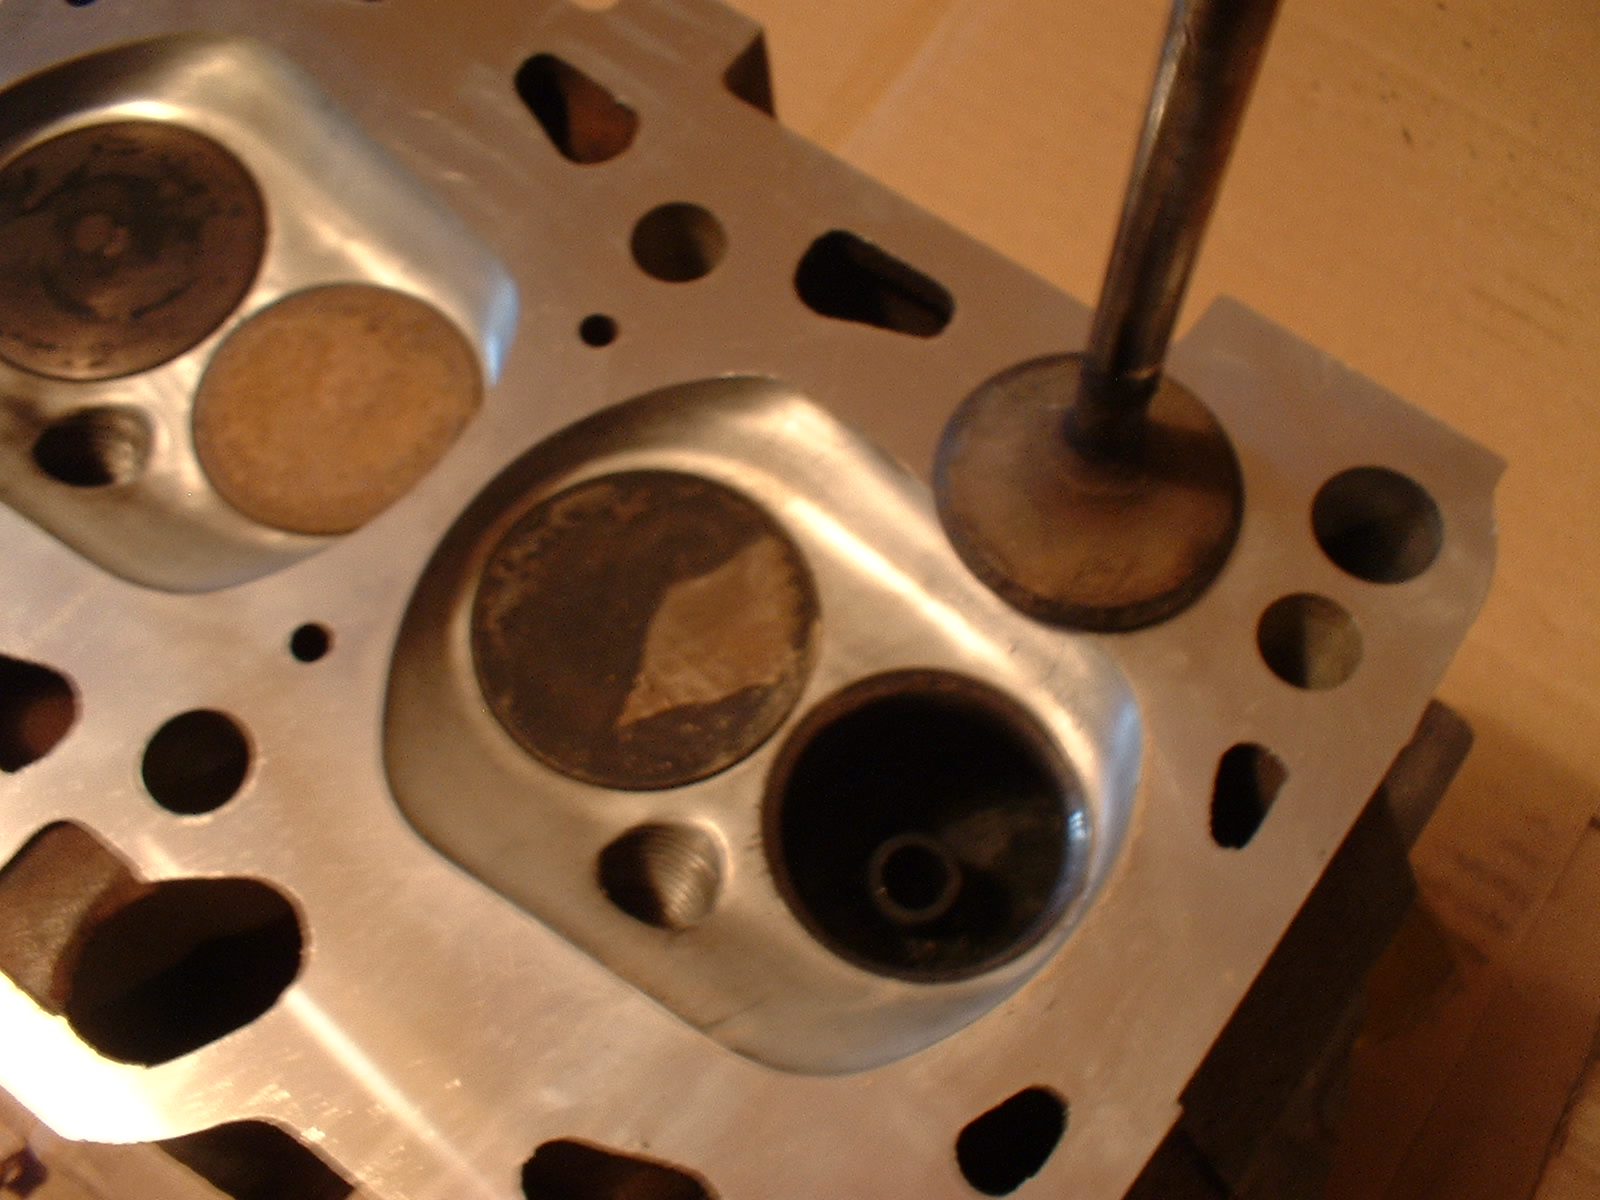
I spent a bit more time cleaning up the head gasket face, and also
removing carbon from the pistons.
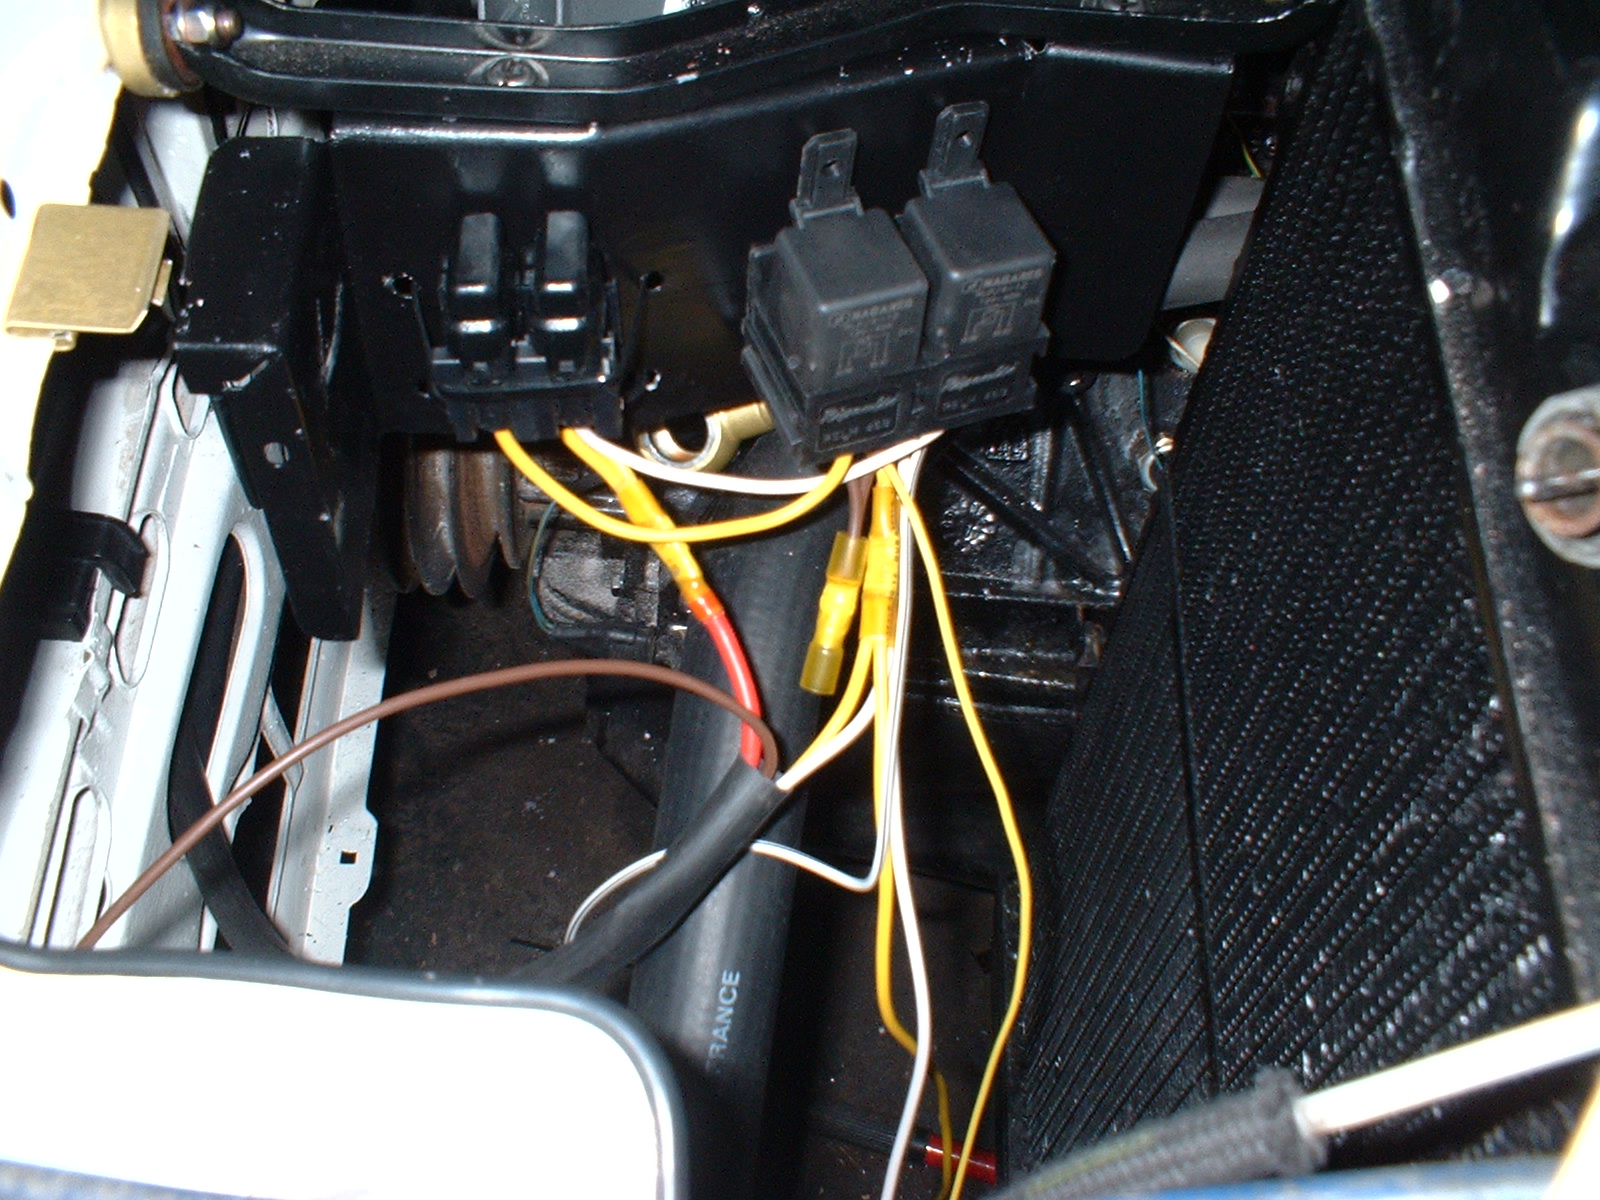
This is the bracket that I made up for the lighting upgrade relays, now painted in satin black..
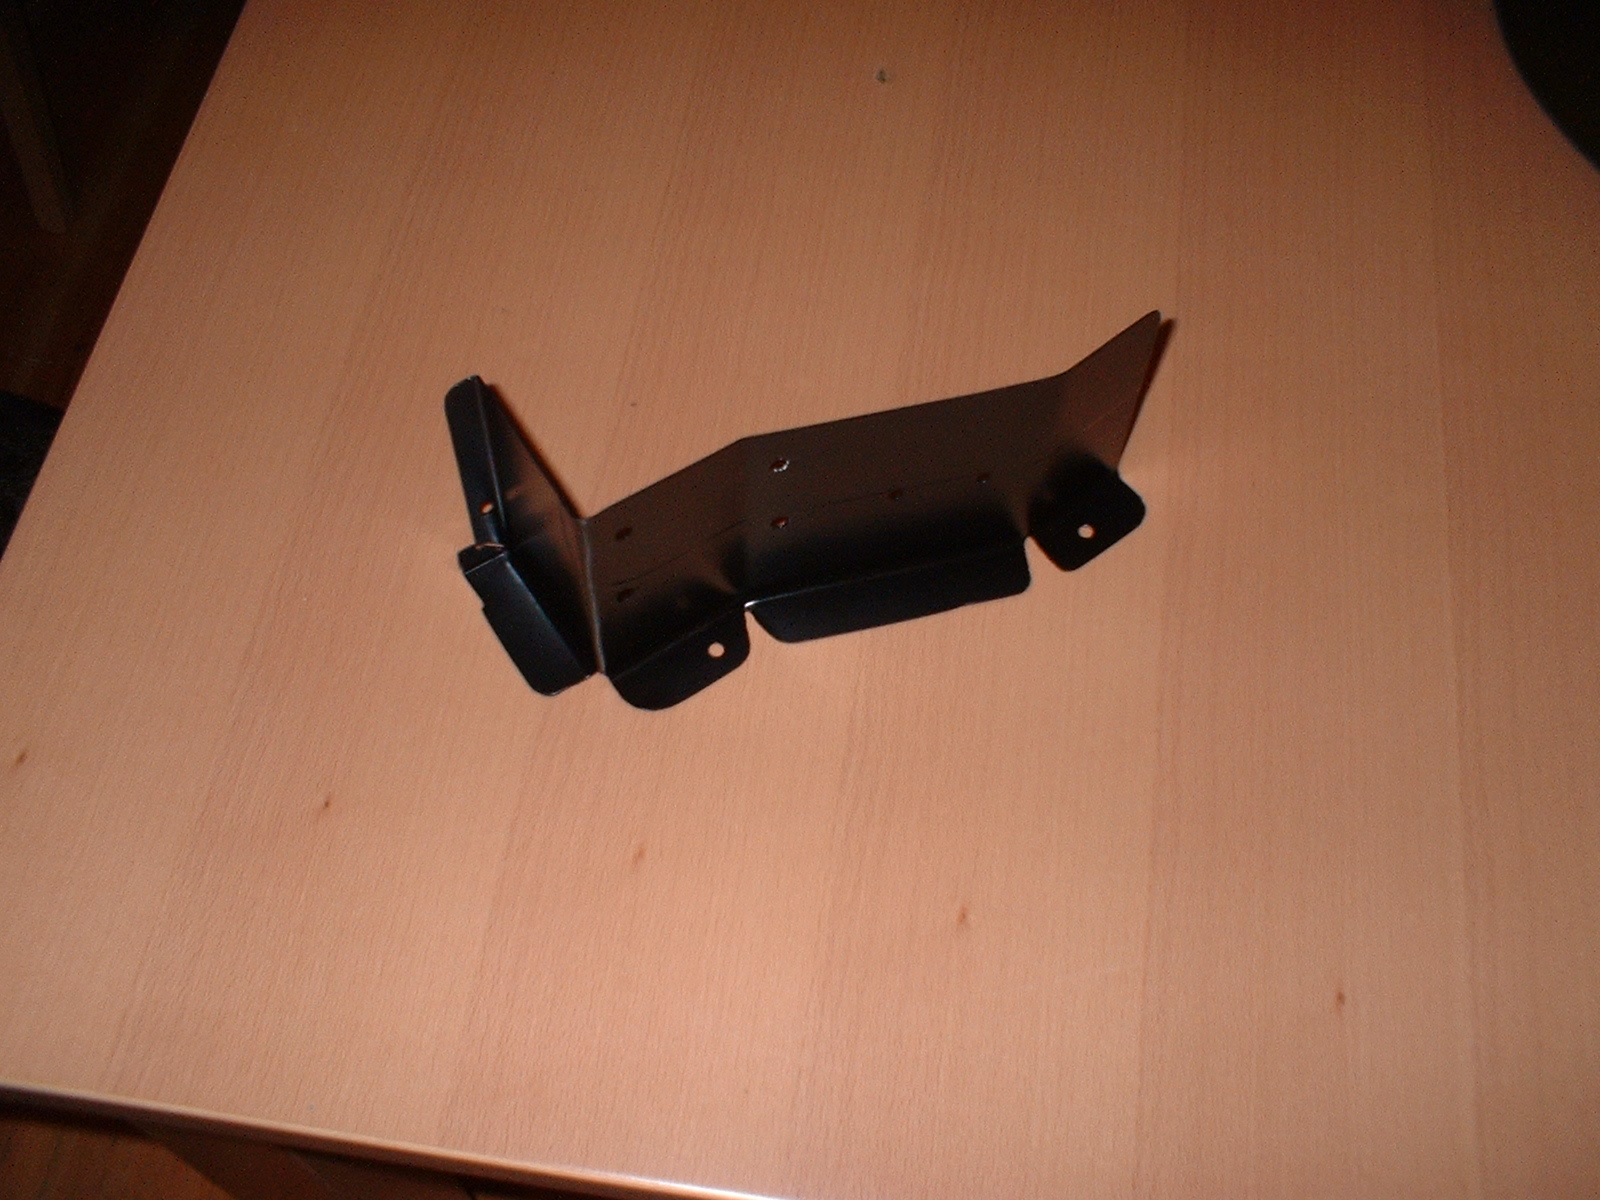
Held on with 2 x M5 screws and locknuts (all stainless)
I secured the fuse carriers with double tiewraps, as there were no
lugs or mounting holes on them. The relay bases were bolted to the
mounting bracket, again with stainless fastners.
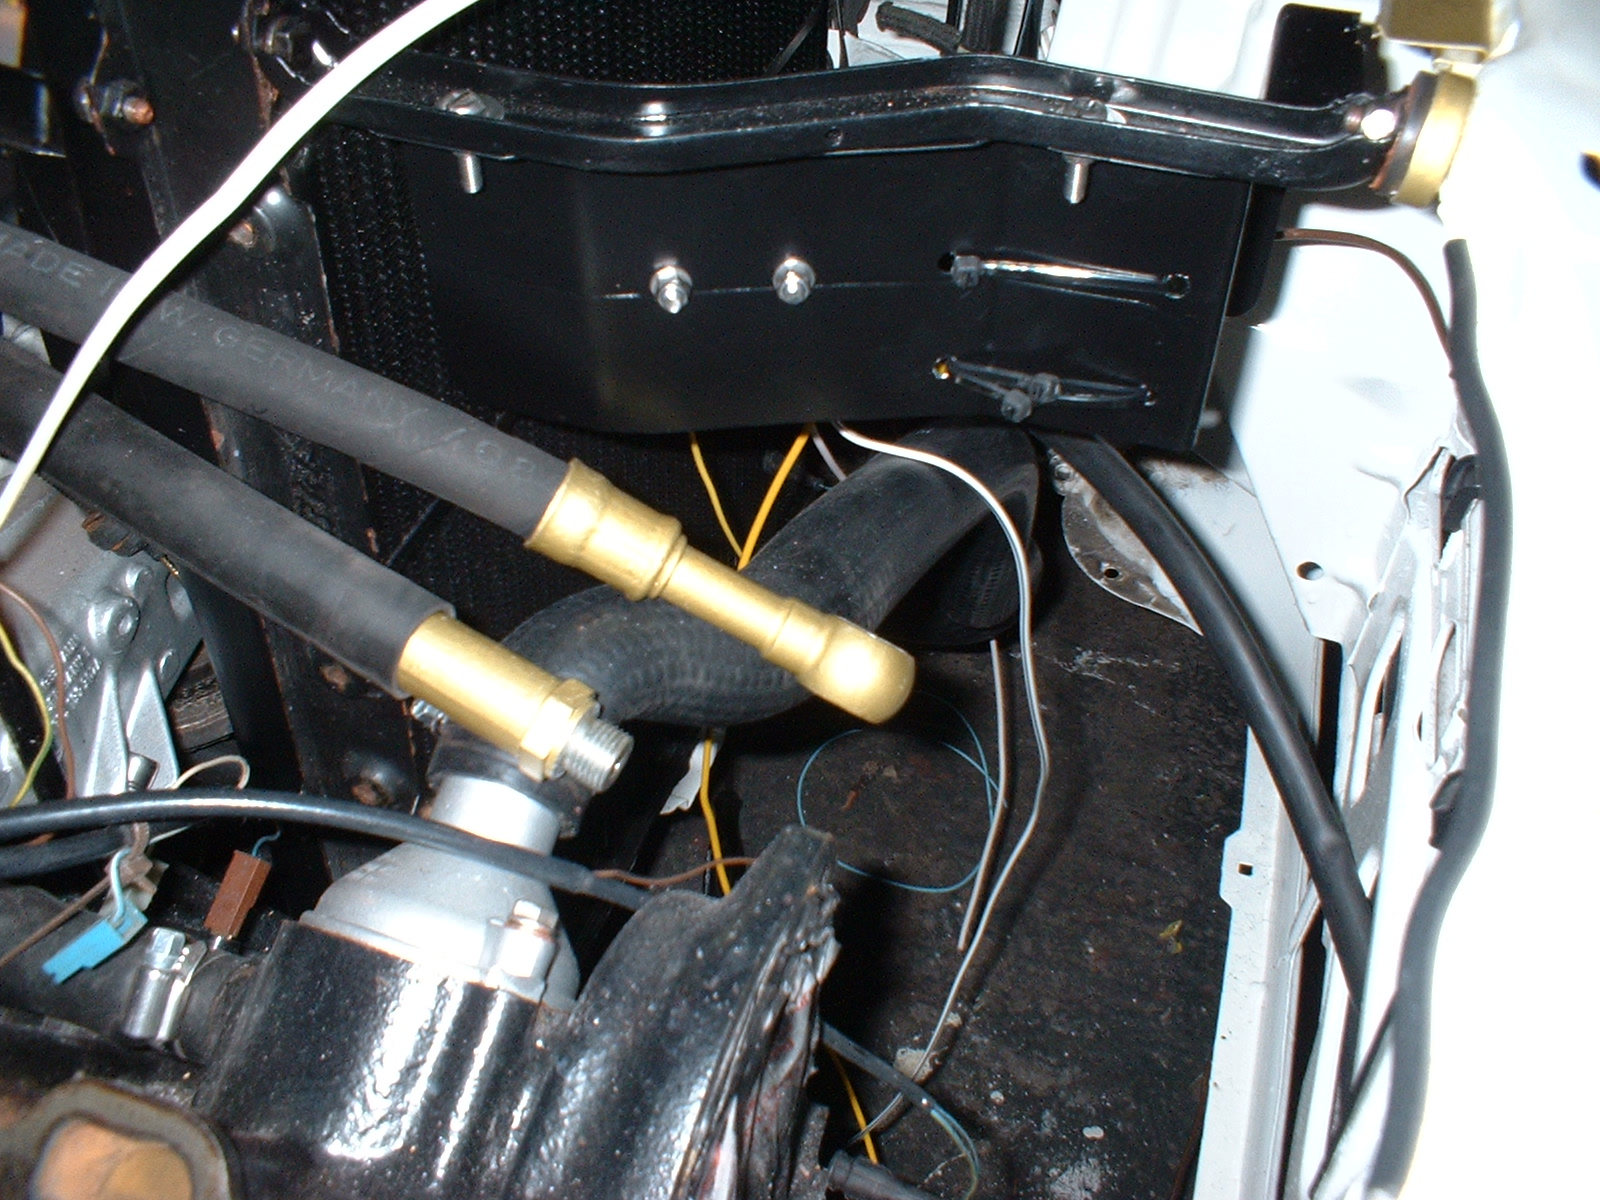
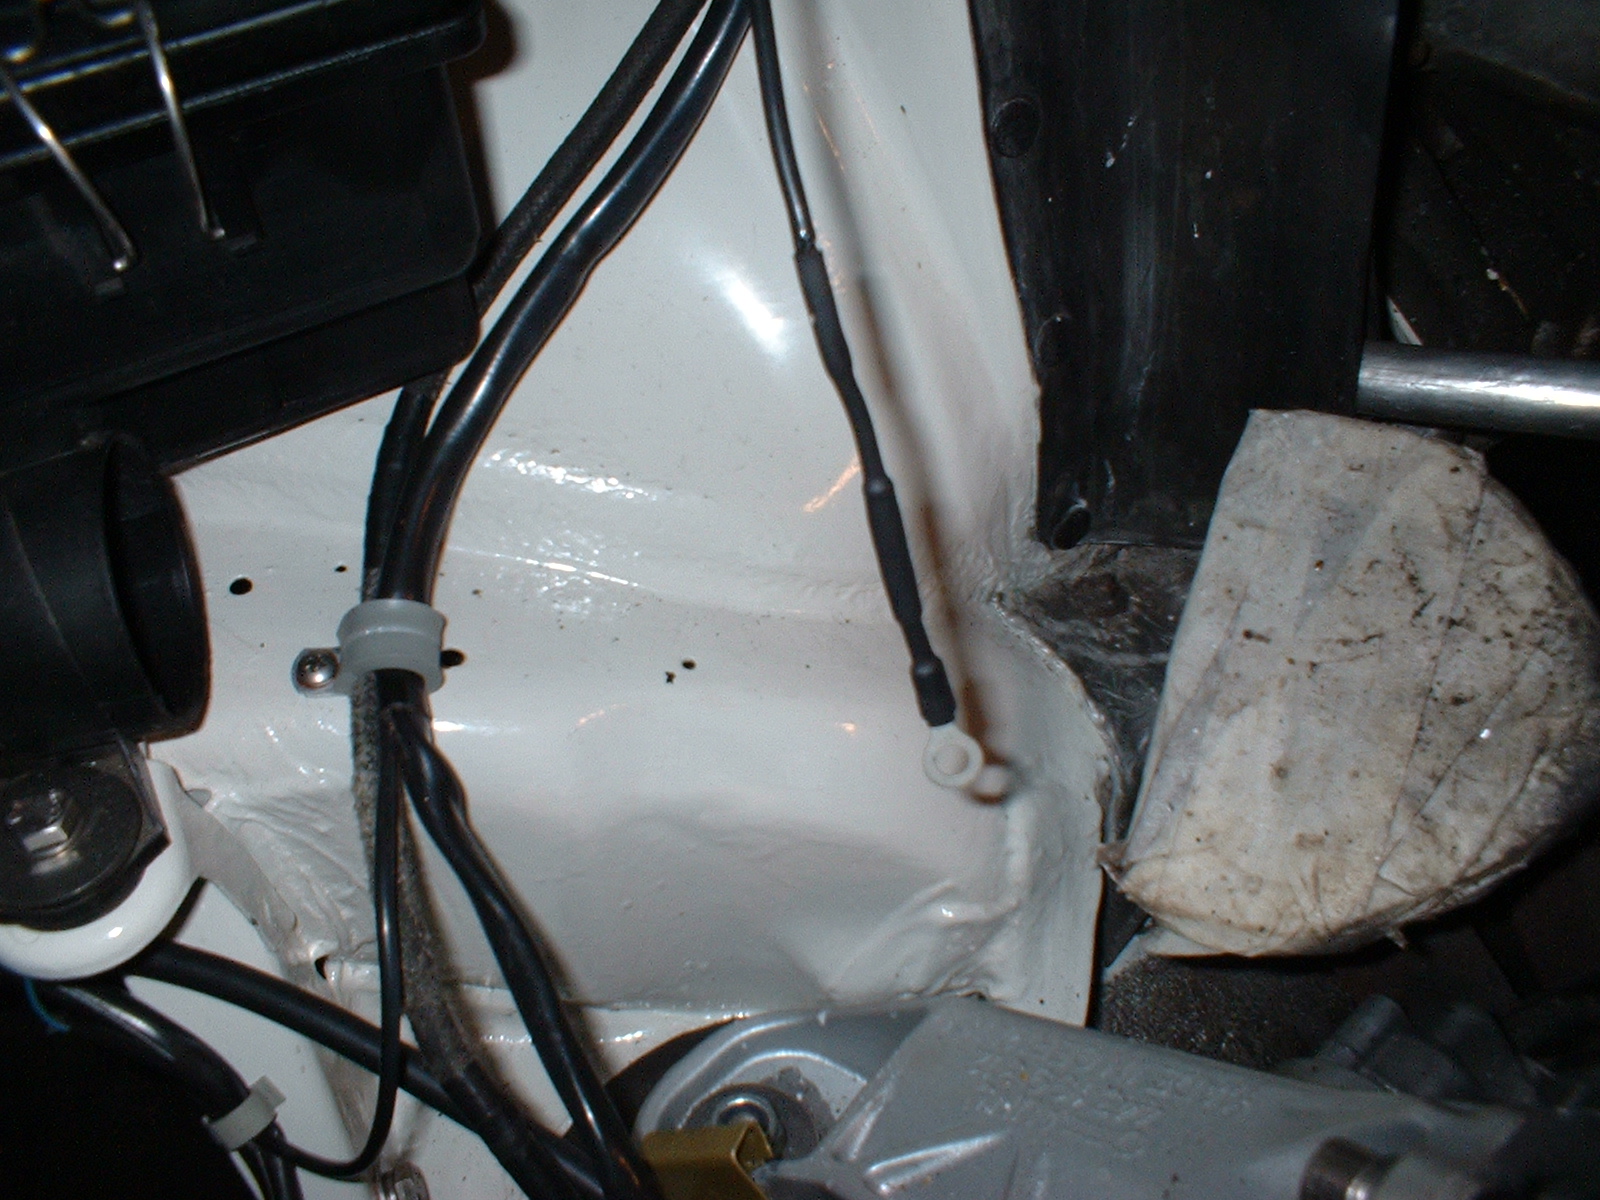
The dodgy earth connector that bolts on the inlet manifold finally got replaced.
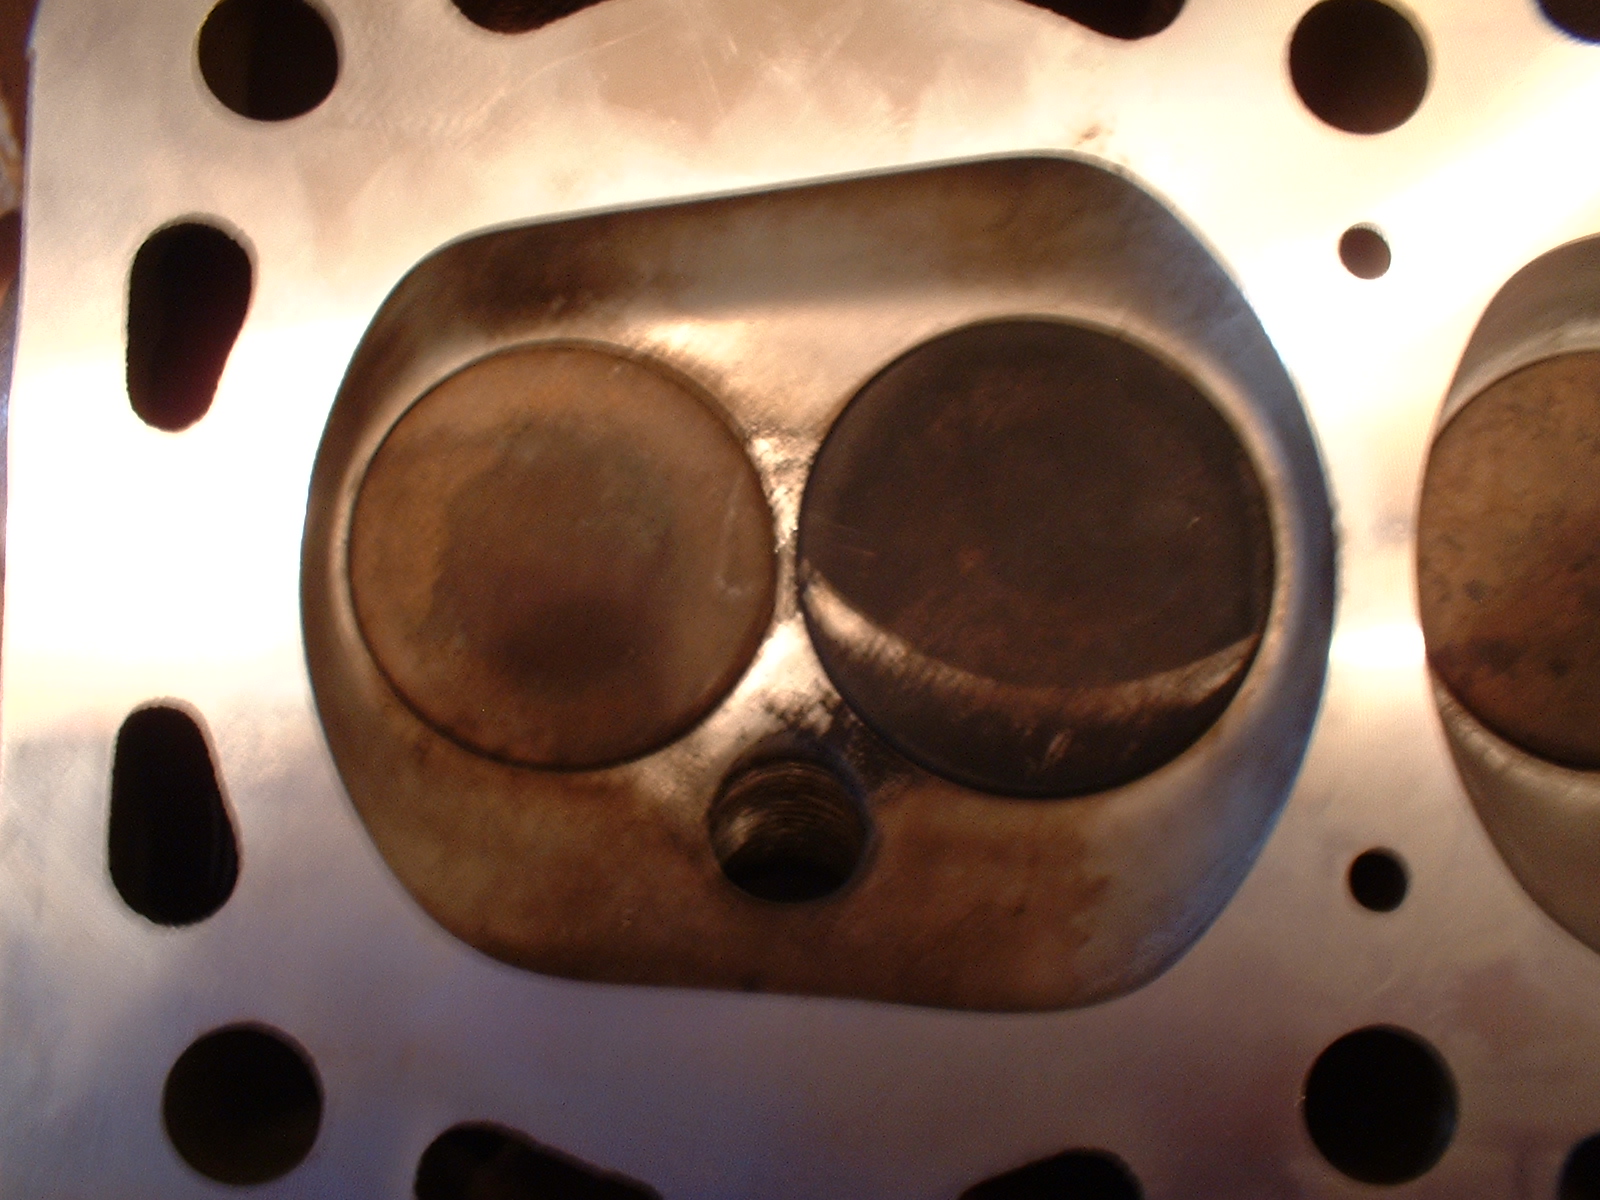
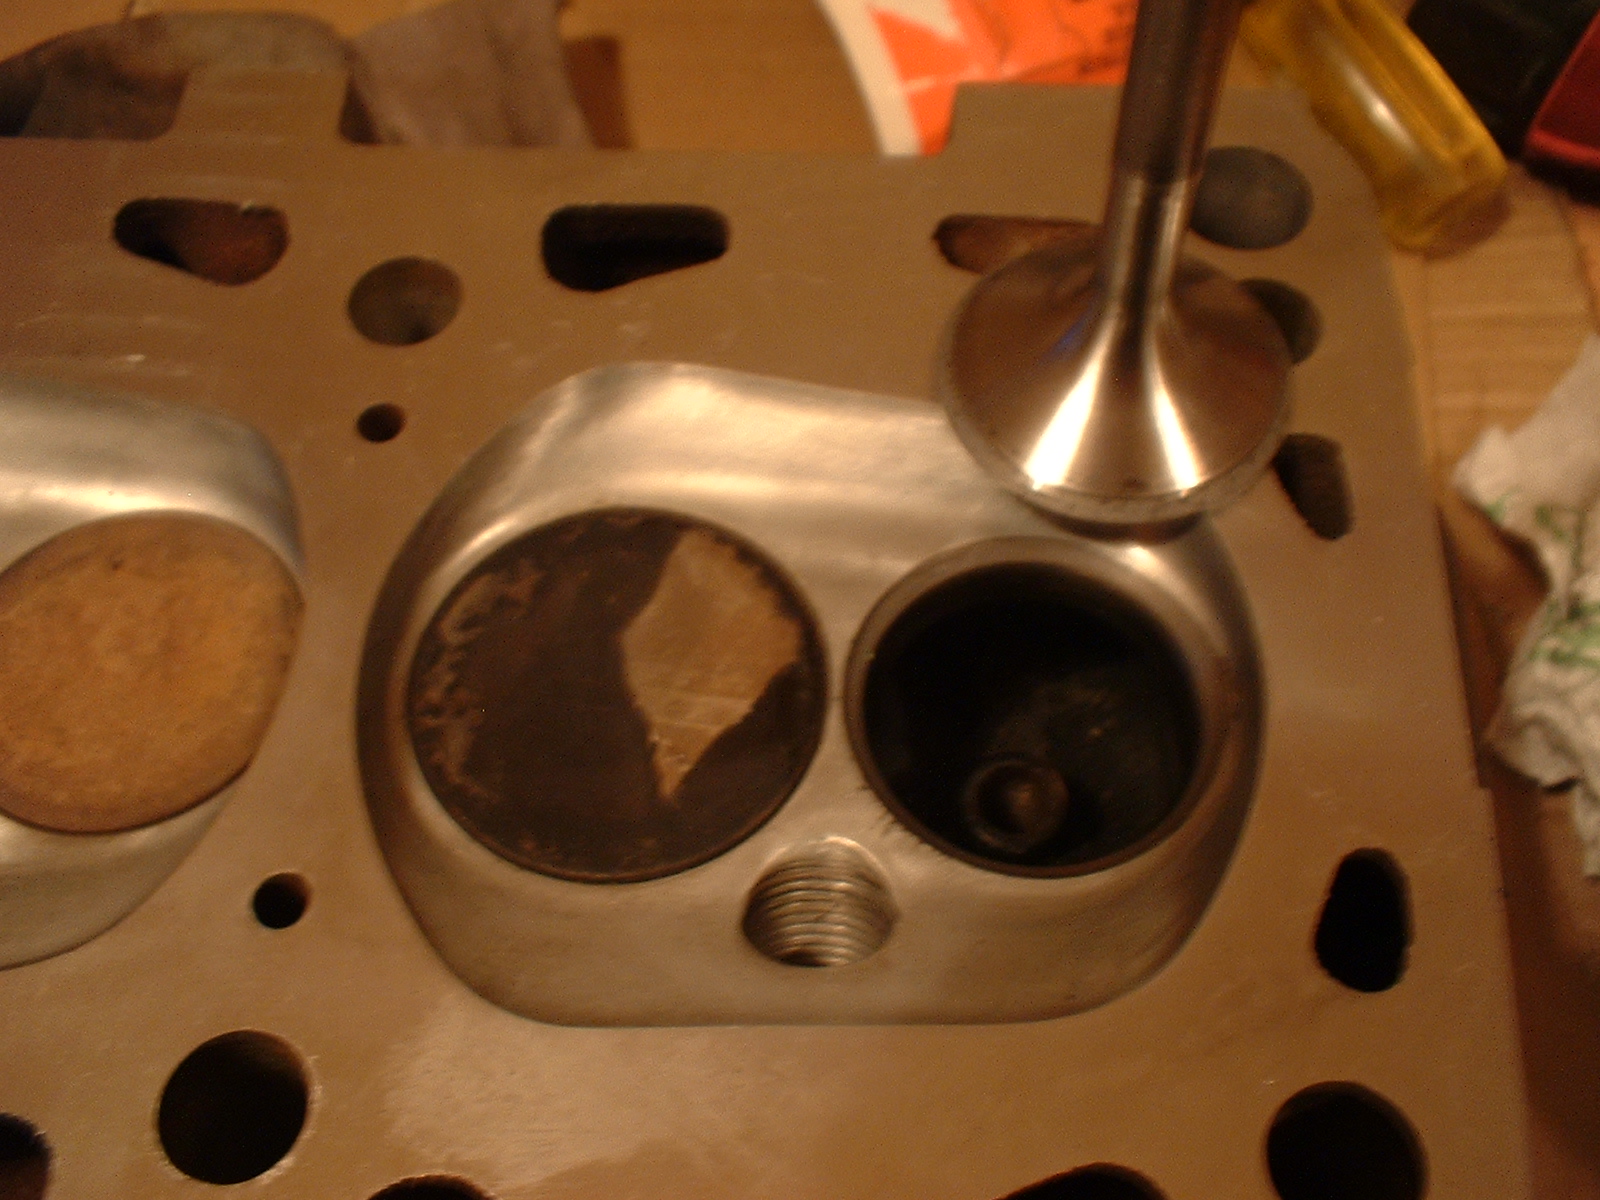
Valves..... These need a cleanup. You can see by how clean it is
that the head got skimmed by the machine shop.
The exhaust valve for cylinder one got removed. Quite a bit of cack to clean off.
The seat and valve certainly need to be bedded in.....
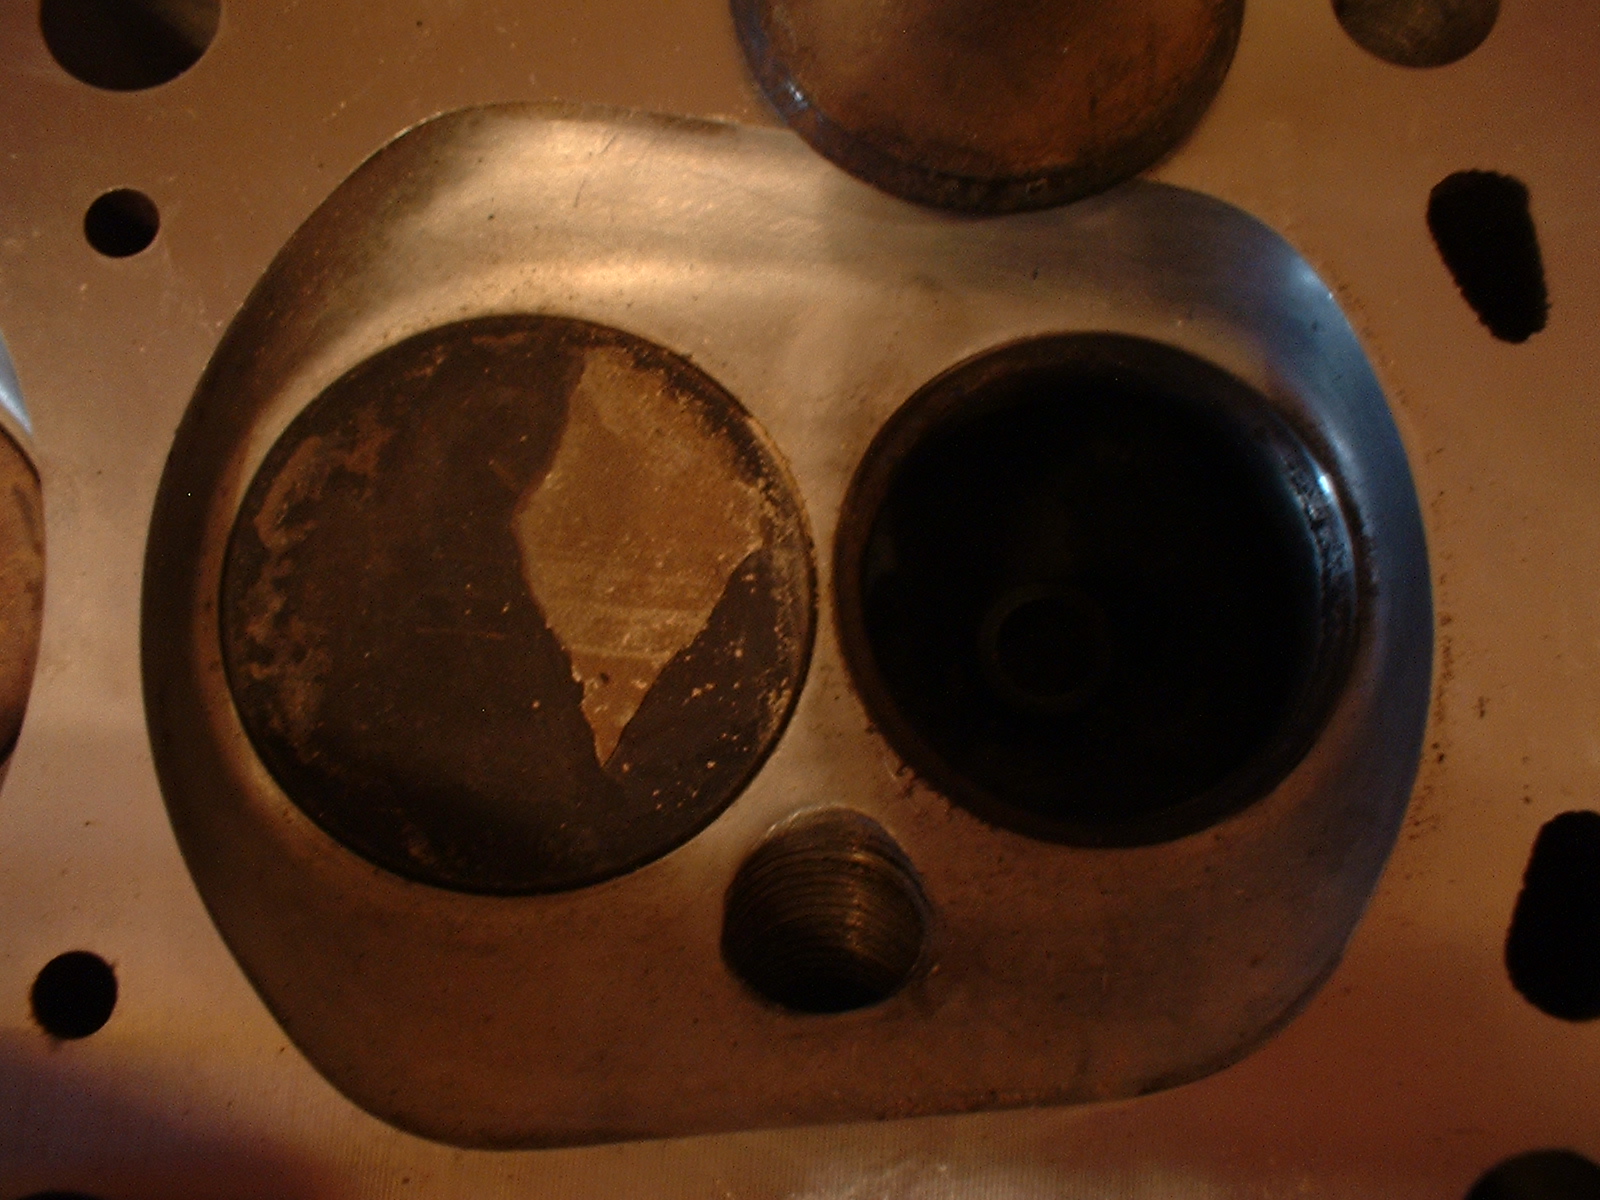
Looks a bit worse in this photo than it actually was.
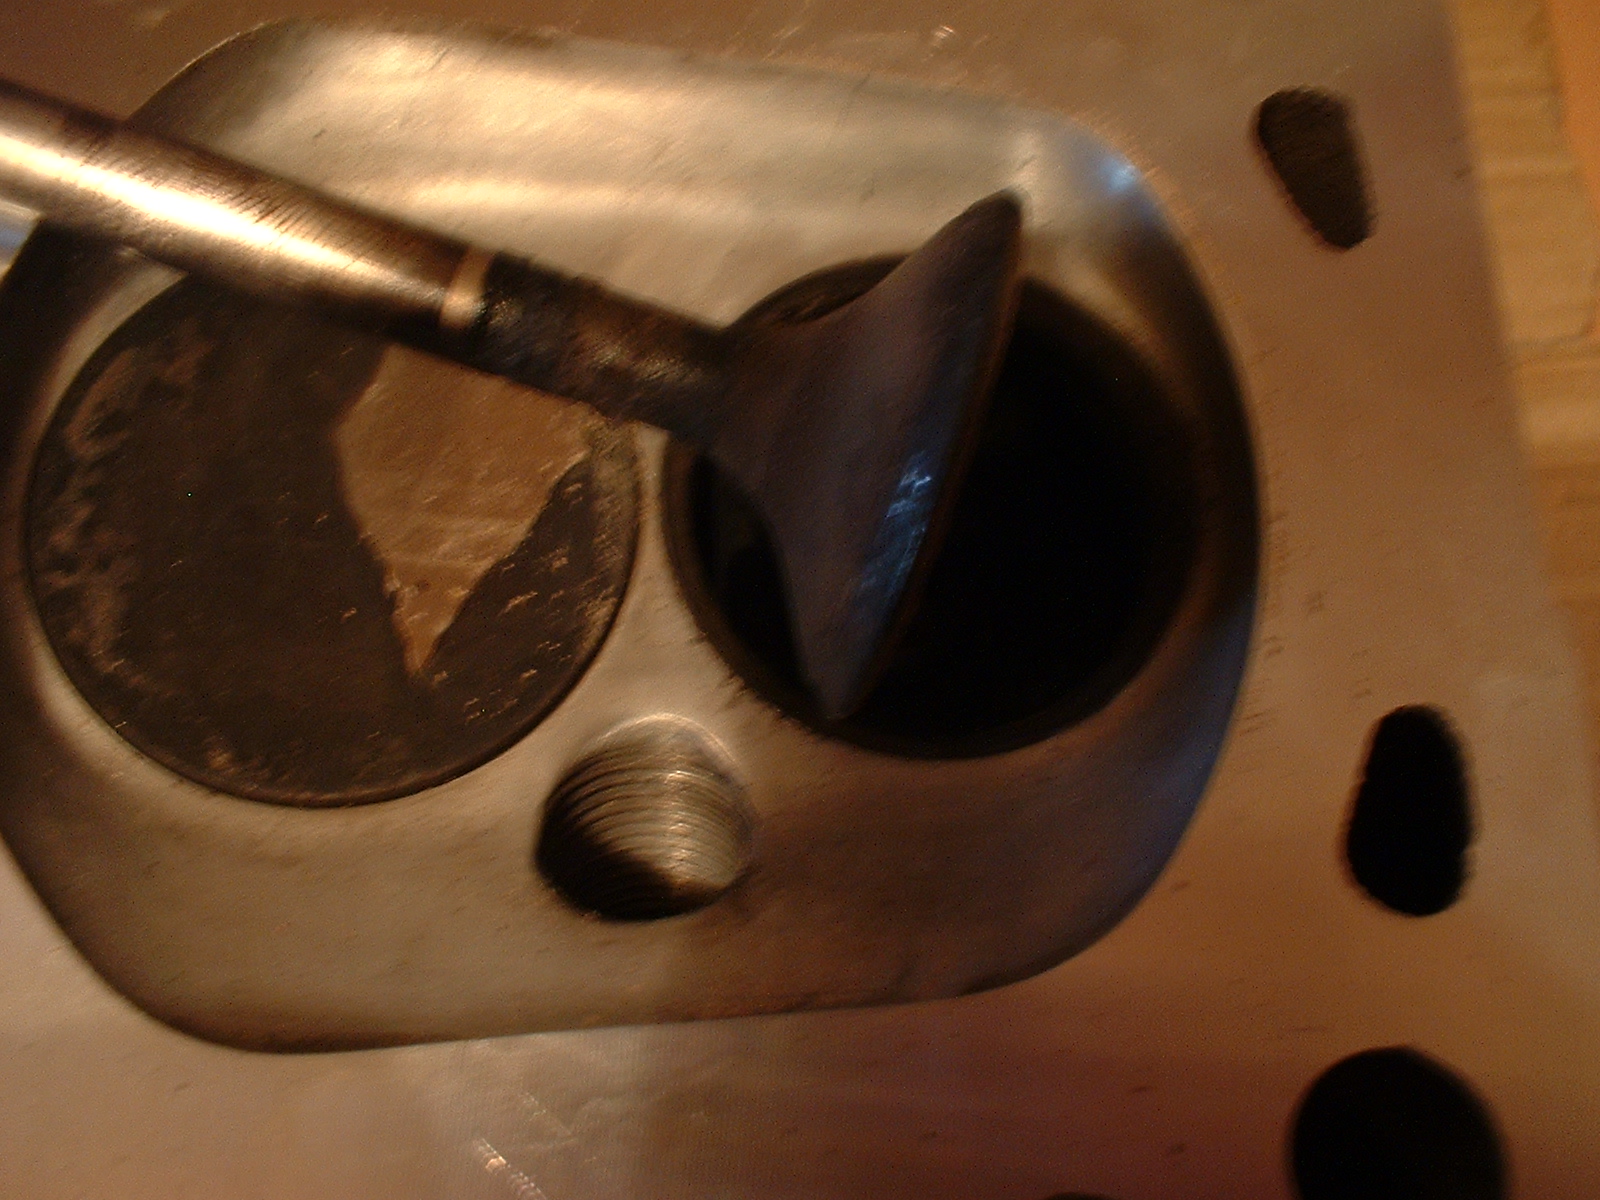
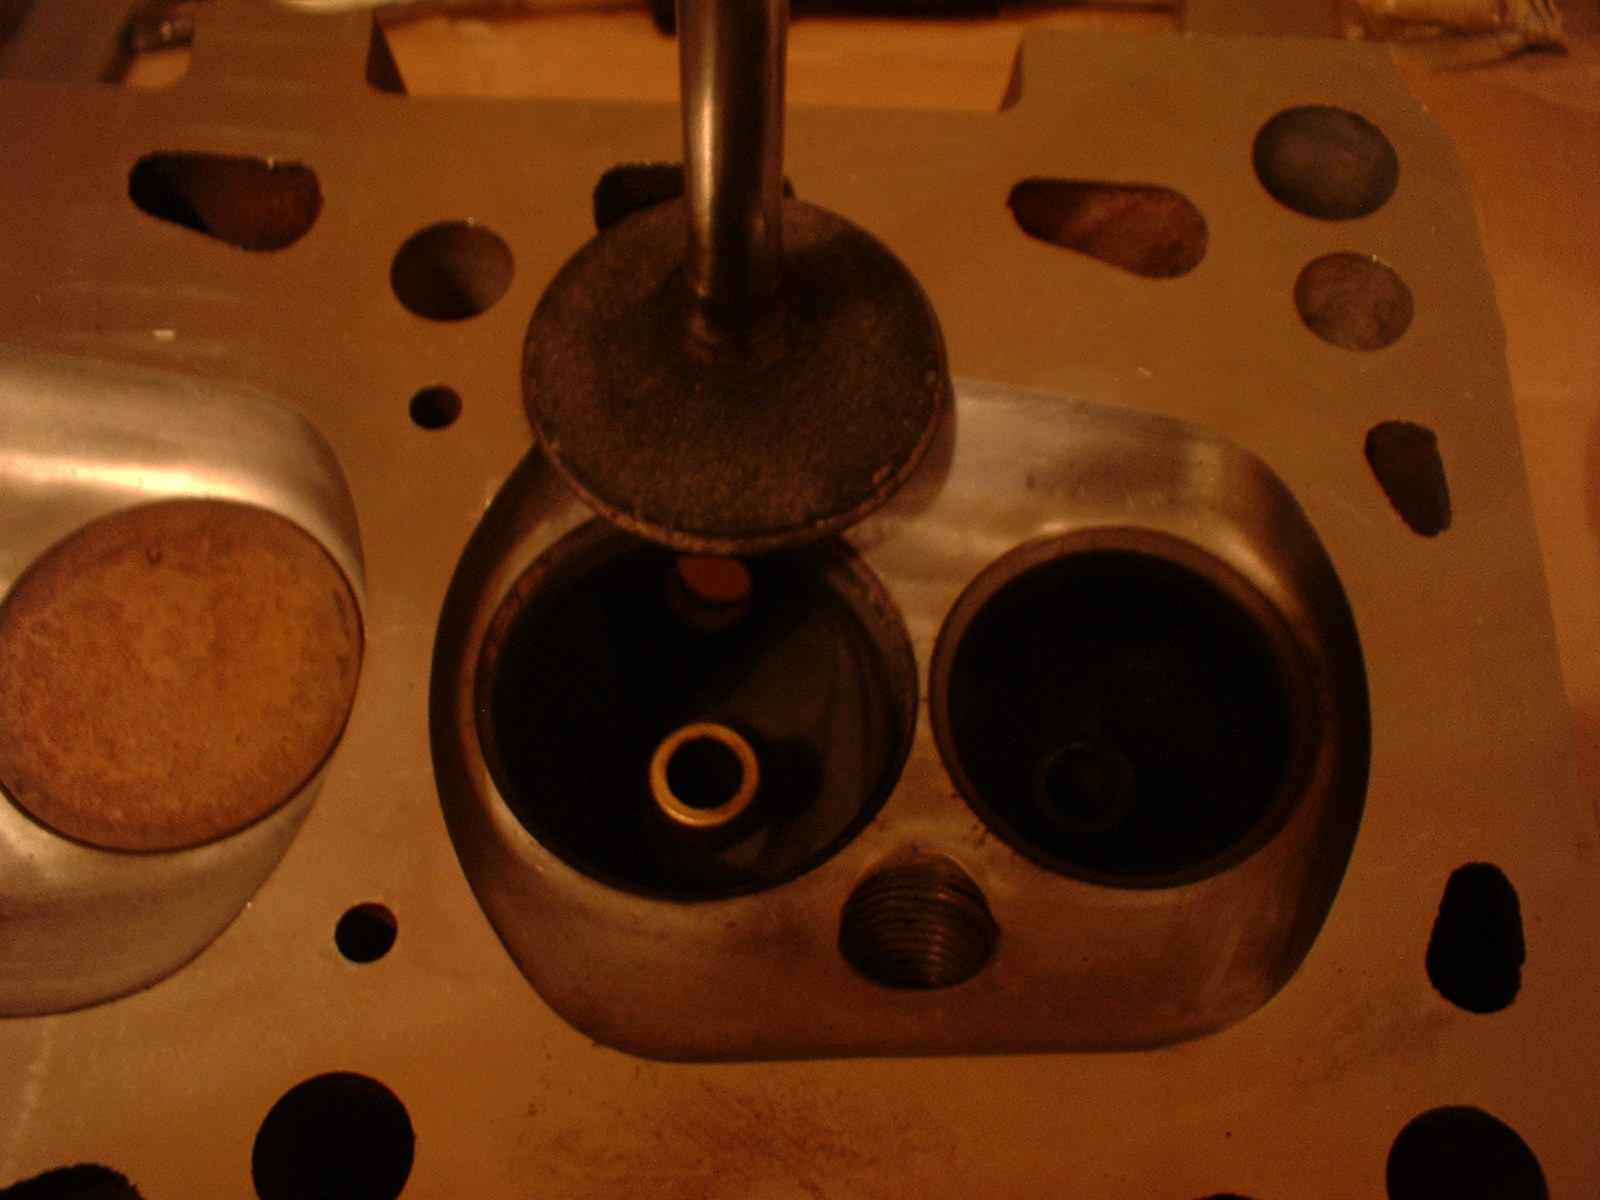
Here's the valve once the cack was removed, but before the lapping took place.
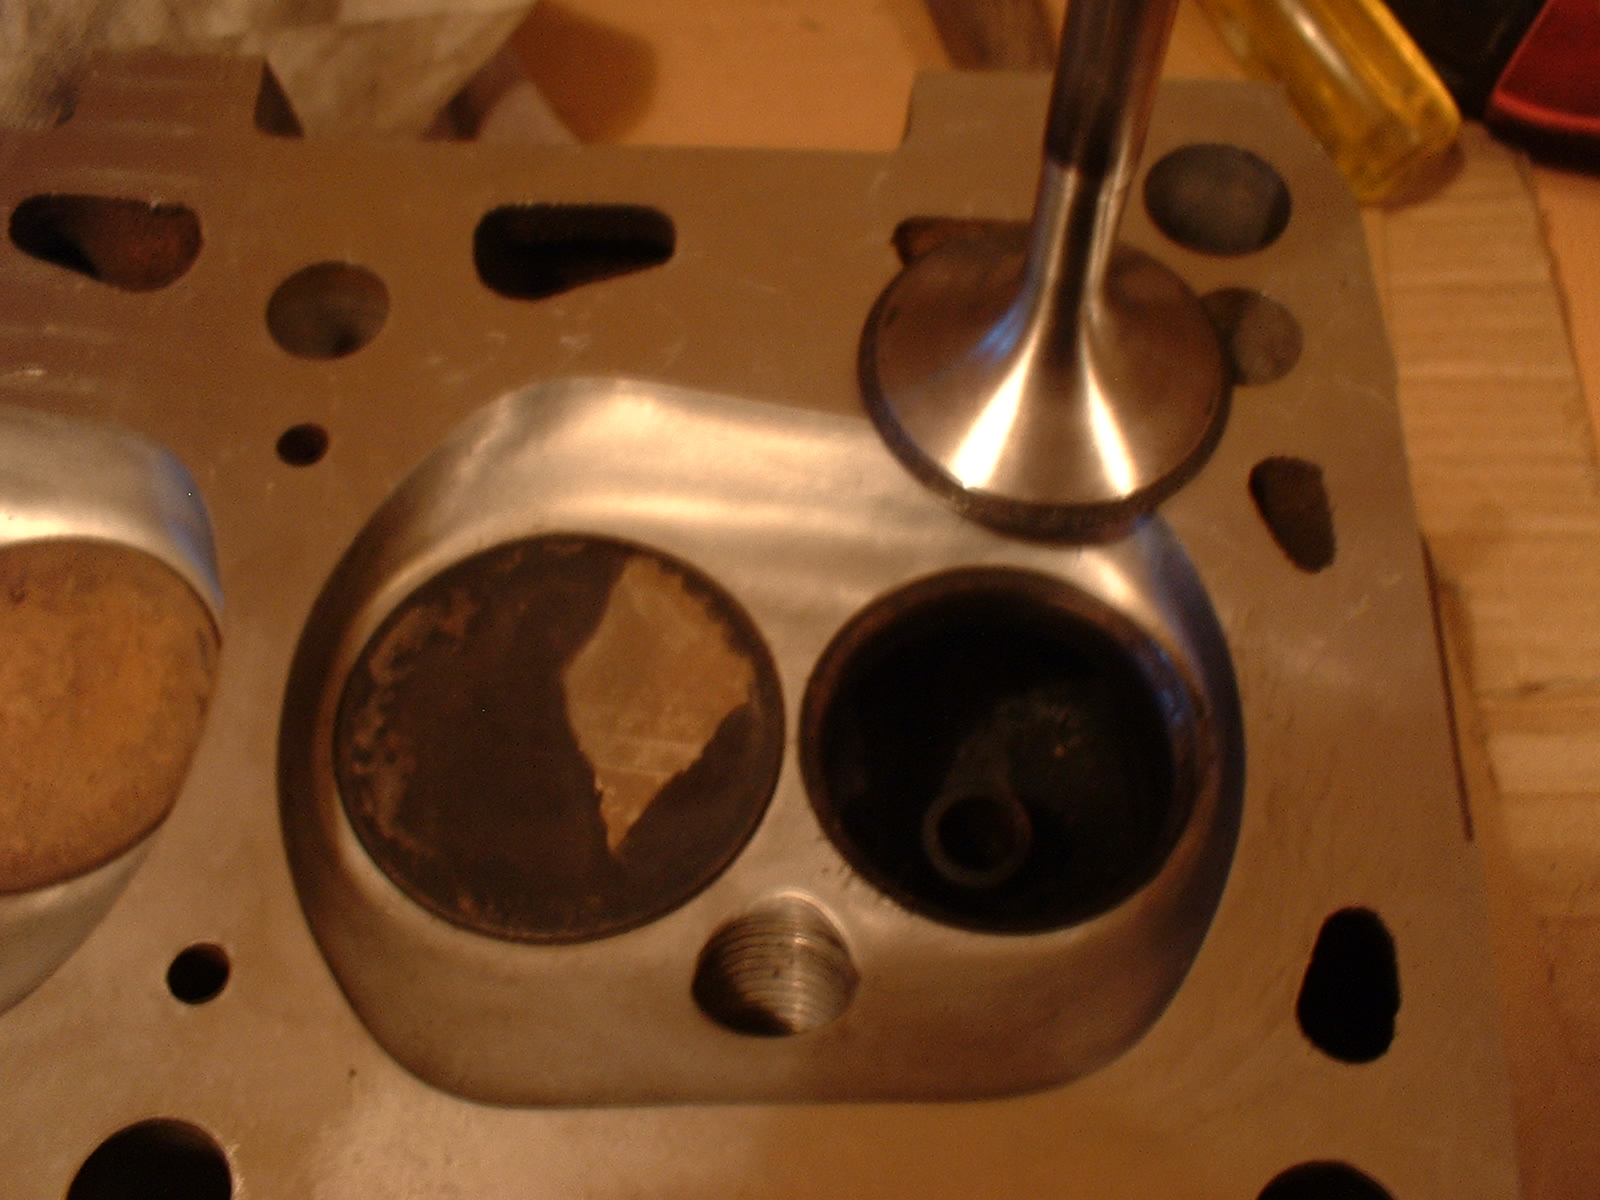
And here is th finished item. Ready to rock...
The inlet valves, although well covered in carbon, are actually in great shape.
More to come on the head front in the next few days....