 HOME HOME
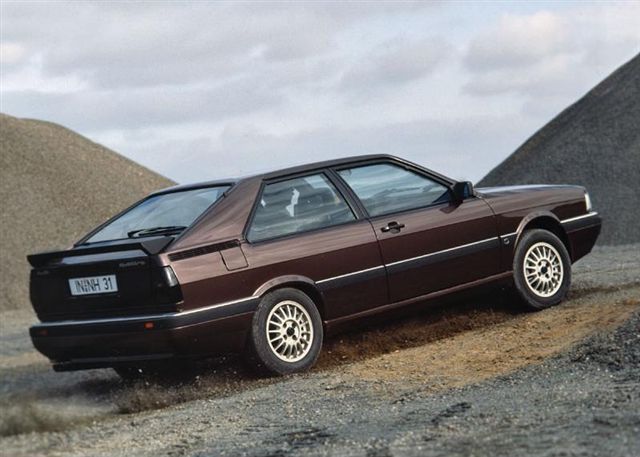
The Coupe Quattro
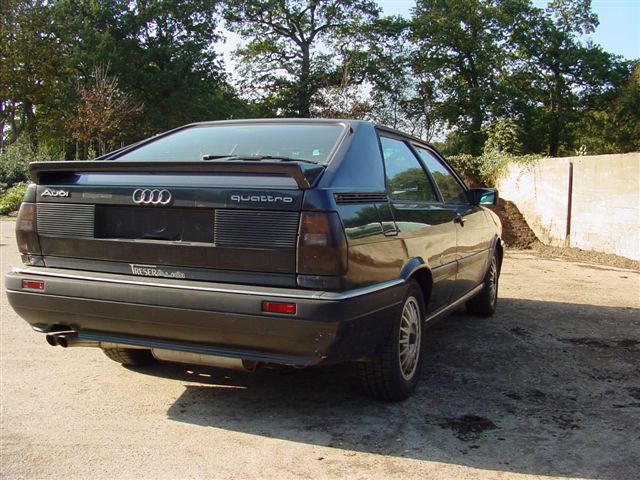
My CQ
Ongoing Restoration
Gallery
Info / Data
Suppliers
Links
T85q.com
|
Rebuild of a Fuba Betina Power Antenna
The following sequence of photos shows the rebuild of a Fuba Betina Power
Antenna, as fitted to 1980-1991 UR quattro's, plus others. Dismantling is
pretty much the reverse of the assembly. Everything was cleaned before
re-assembly, and the grease used was a Castrol waterproof grease.
Apologies for out of focus photography.......
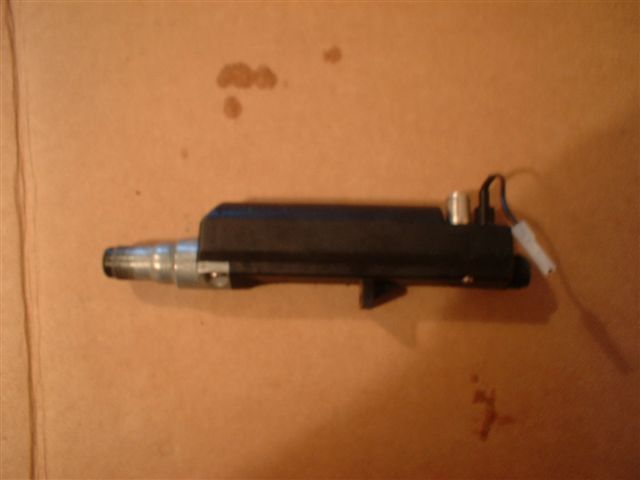
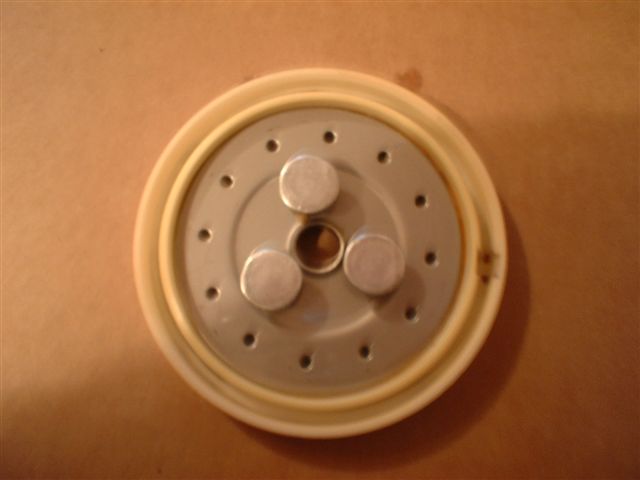
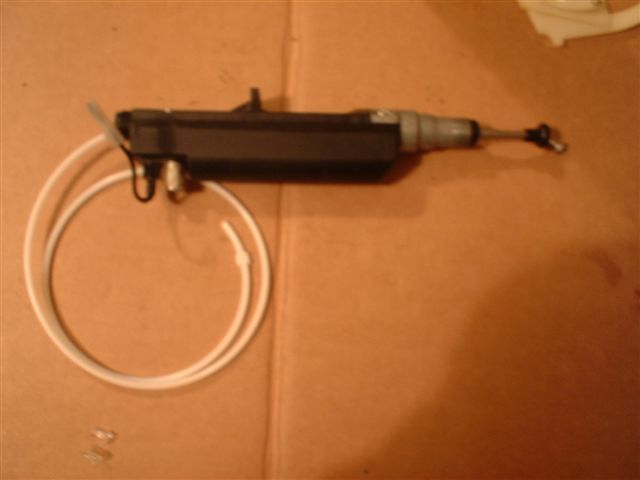
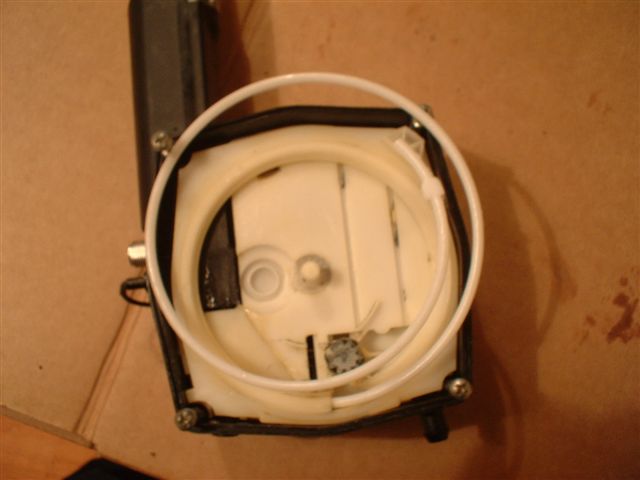
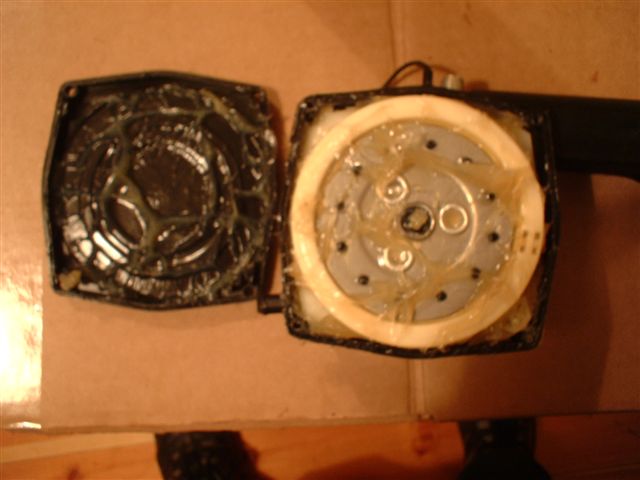
This section contains the amplifier/impedance matching circuit. Very similar to the manual antenna, and will accept the manual antenna mast
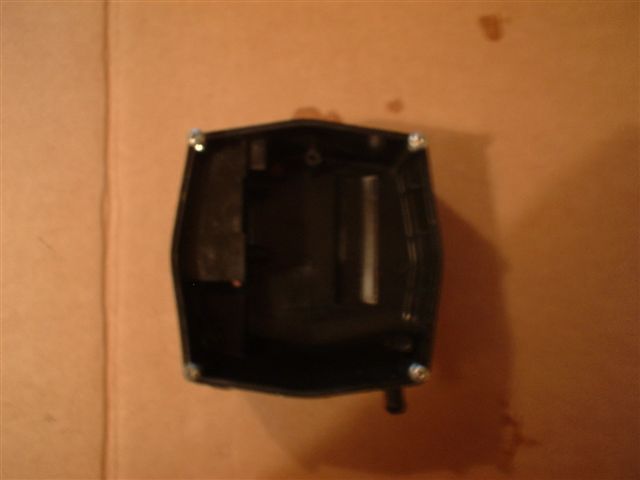
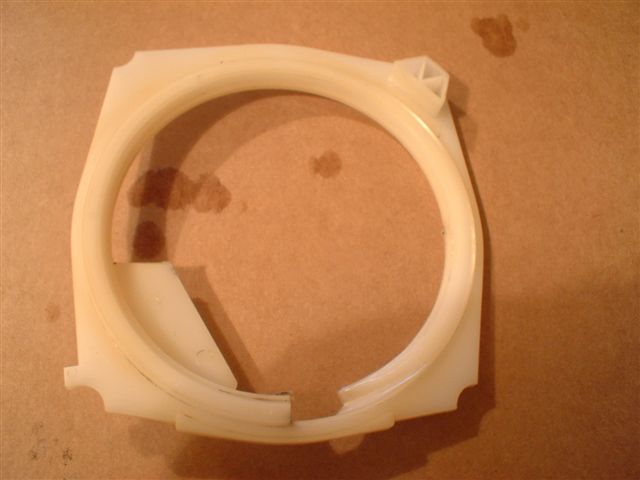
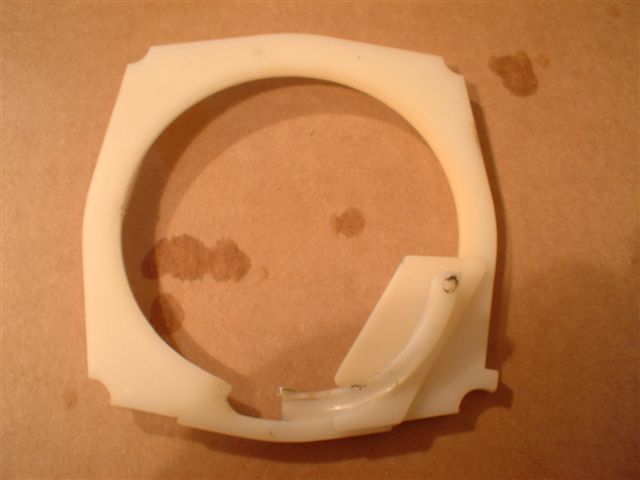
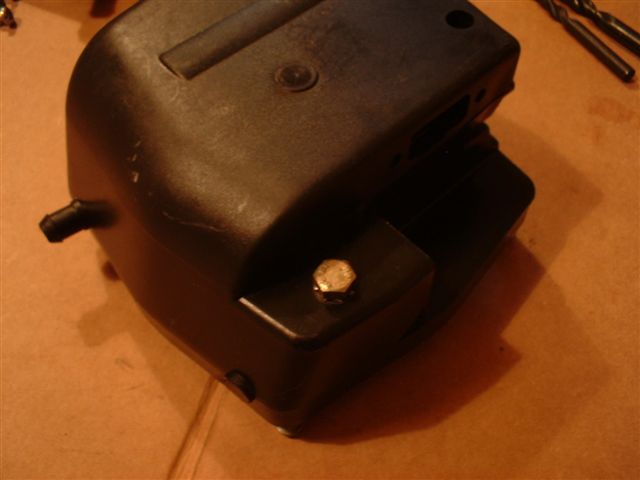
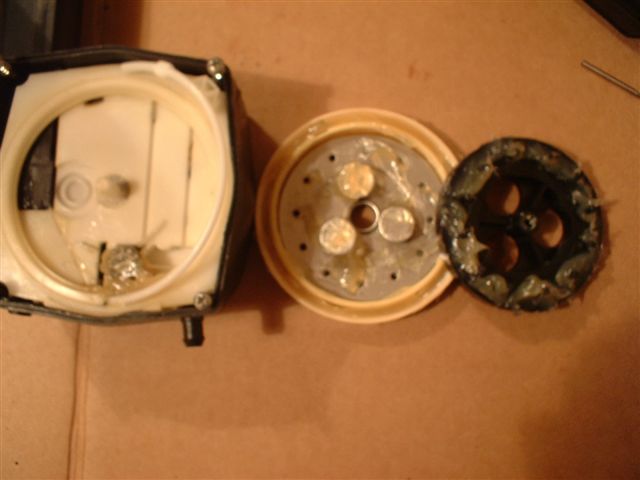
The main "shell" that houses the motor, etc.
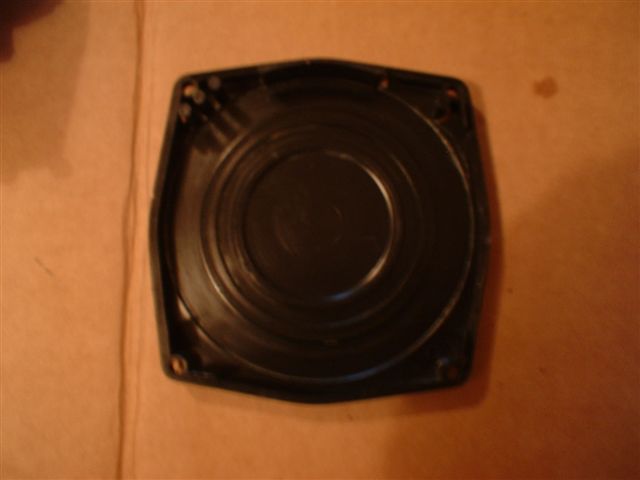
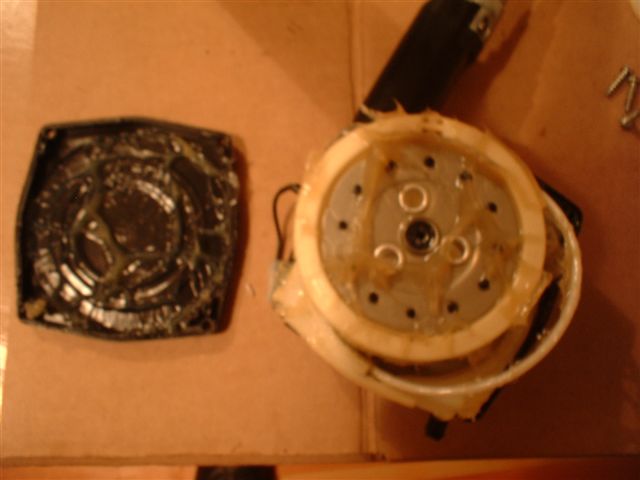
The screw on cover for the shell.
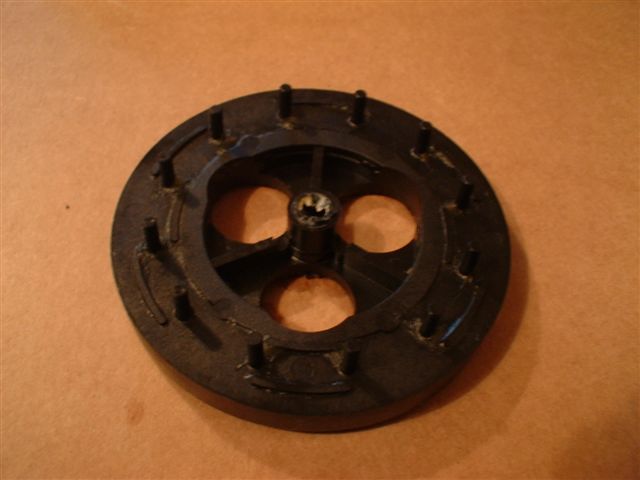
Called a "Kupplung" by Fuba, the antenna mast plastic tail retracts into this item when the mast is down.
And the other side showing the groove, plus location notch for the mast plastic tail
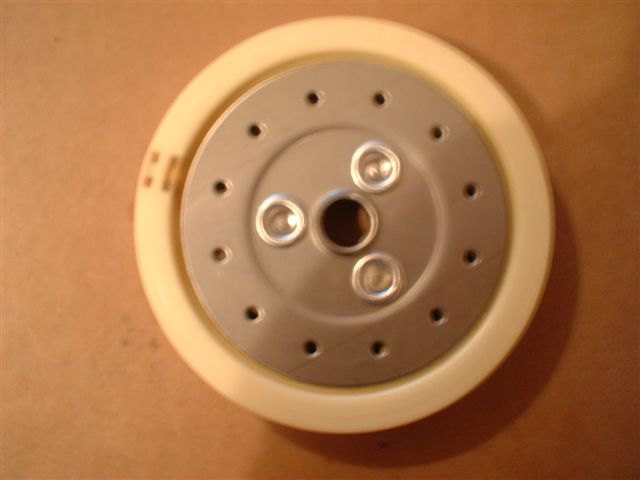
The main gear. If some or all of the teeth of this item are missing, you're snookered.....
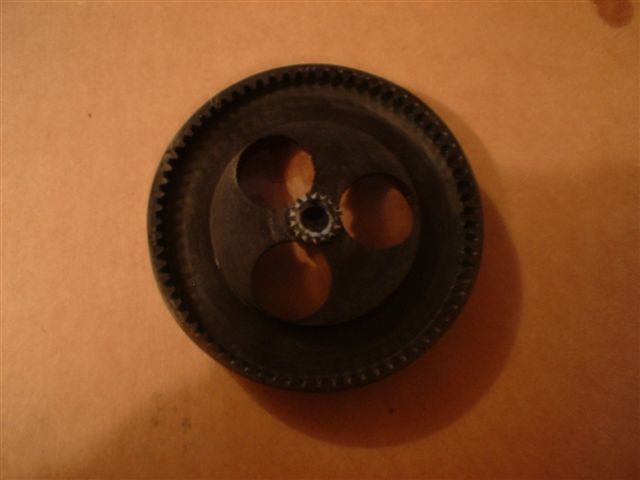
And the other side
I'm not sure what to call this, it seems to function as a guide for the plastic tail of the antenna mast
And it's other side
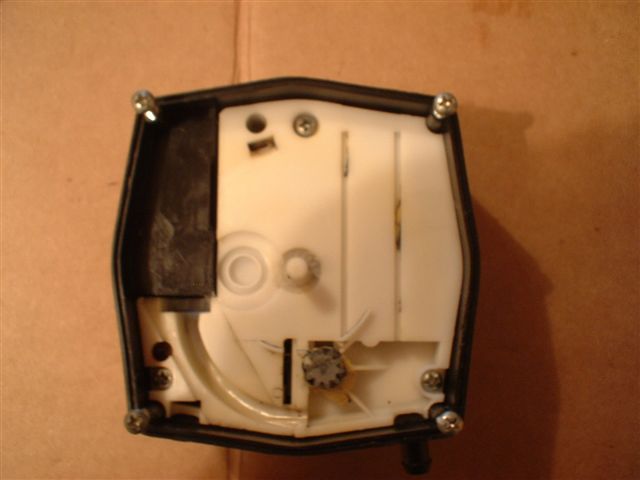
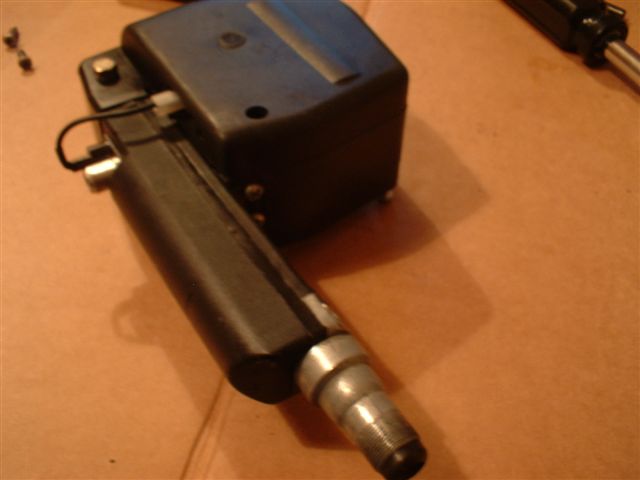
The motor, with small spur gear, and the control circuit board.
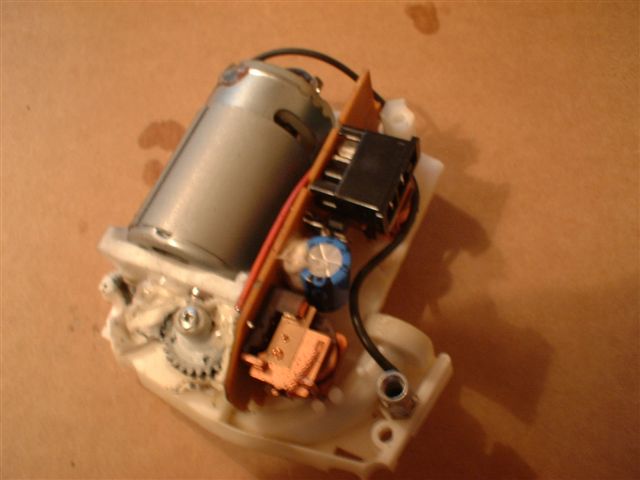
And it's other side
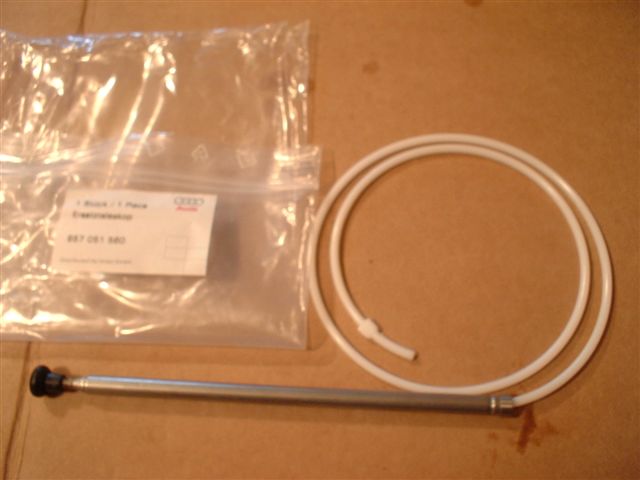
A new antenna mast, supplied by Audi, part number 857 051 560.
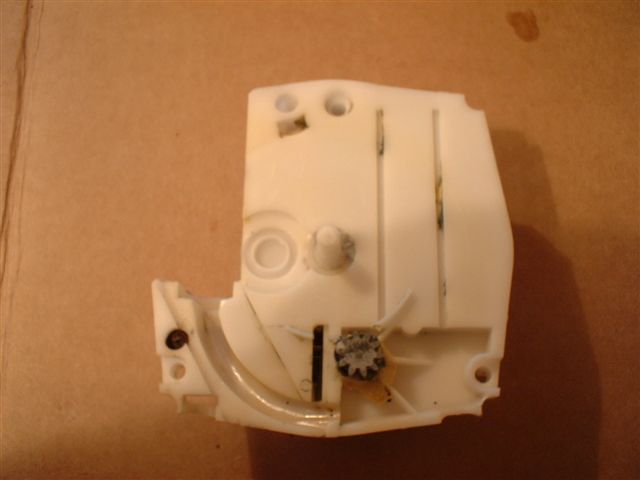
Motor and circuit board Assembly just drops into the backshell.

Don't forget the small hex headed screw at the back that helps to secure the motor assembly, and it's the motor earth point.
Three more screws hold it into the backshell.
Unscrew the black top cap from the mast. Apply some grease to the metal part of the mast, and push it into place through the bottom of the amplifier section. Make sure that you screw on the top cap to secure the mast.
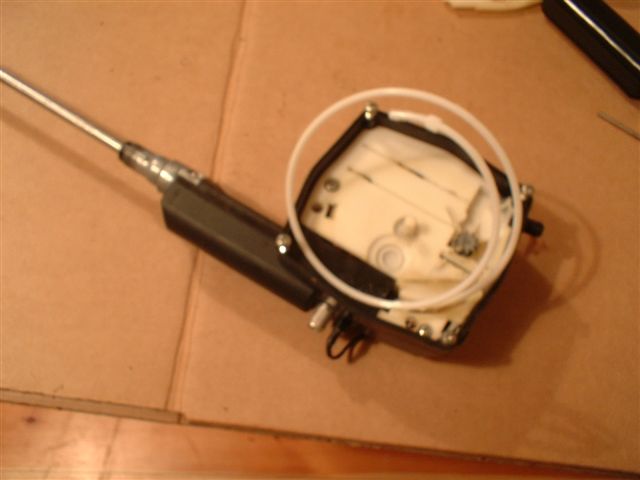
Feed the plastic tail of the new mast into the body of the antenna, push the amplifier section into place, and secure at the top with the 2 self-tapping screws.
Fit the plastic guide for the mast tail, it just drops into place, you have to get it the right way round first......
You can just see the 2 screws that hold on the a,plifier section
The grease.... I used Castrol Olit CLS, which is a waterproof grease.

Grease everything remaining.....
You may want to use a little less than I did. The plastic spikes on the main gear fit into corresponding holes in the "kuppling", you have to ensure that these two parts are correctly orientated.

The bulge in the mast plastic tail needs to be fitted into the notch in the Kuppling.
This is the tricky bit. You need to make sure that the bulge in the plastic tail stays in the notch, and you need to wind the rest of the tail into the circular slot in the Kuppling. Once you have the mast fully retracted, take up the slack, and push the Kuppling down into position, so that it is located onto the centre axle pin, plus the main gear is meshed with the small spur gear.
Replace the cover, and you're done!

Click Here to email me
|